
Tent Setup TentSetupLastUpdated
Overview
When setting up in a tent outside, there are a variety of concerns. The most pressing are weather, wind, rain, heat, sunlight, and dust. It can also be tricky to work around the physical setup of different tents. This document focuses on setting up in a pop-up style tent, but includes tips that also apply to other styles.
 1
2
3
4
5
6
1
2
3
4
5
6
- Top rope
- Top clamps
- Middle rope
- Bottom rope
- Bottom clamps
- Bottom spacing
General Concerns
The biggest problems when setting up in a tent are wind and rain. It is very important to keep everything secure to fight strong winds. The event should provide a tent that is secured and/or weighted down. If they do not, use cases, carts, or other heavy gear to secure things as best you can and ask them to better secure the tent.
For rain, keep all equipment and the green screen as dry as possible. Keep the screen off the ground and keep equipment under cover, using tarps if necessary. Direct sunlight on guests or the screen can make keying or compositing more difficult. Try to set up so direct sunlight does not hit the screen or guests, but if that is unavoidable, use tarps where possible and do your best to fix things in SolidKey.
Direct sun on printers, computer, and camera can also cause heat issues. Shield them as much as possible with tarps, folders, or even yourself. Keep spare media out of the sun and away from water.
Critical Mistakes To Avoid
- Letting the screen touch wet ground.
- Running in a tent that is not properly secured or weighted.
- Leaving camera, printer, or computer in direct sun for long periods.
- Using the wrong QR scanner when working in bright sunlight.
Equipment
 1
2
3
4
5
6
7
8
9
10
1
2
3
4
5
6
7
8
9
10
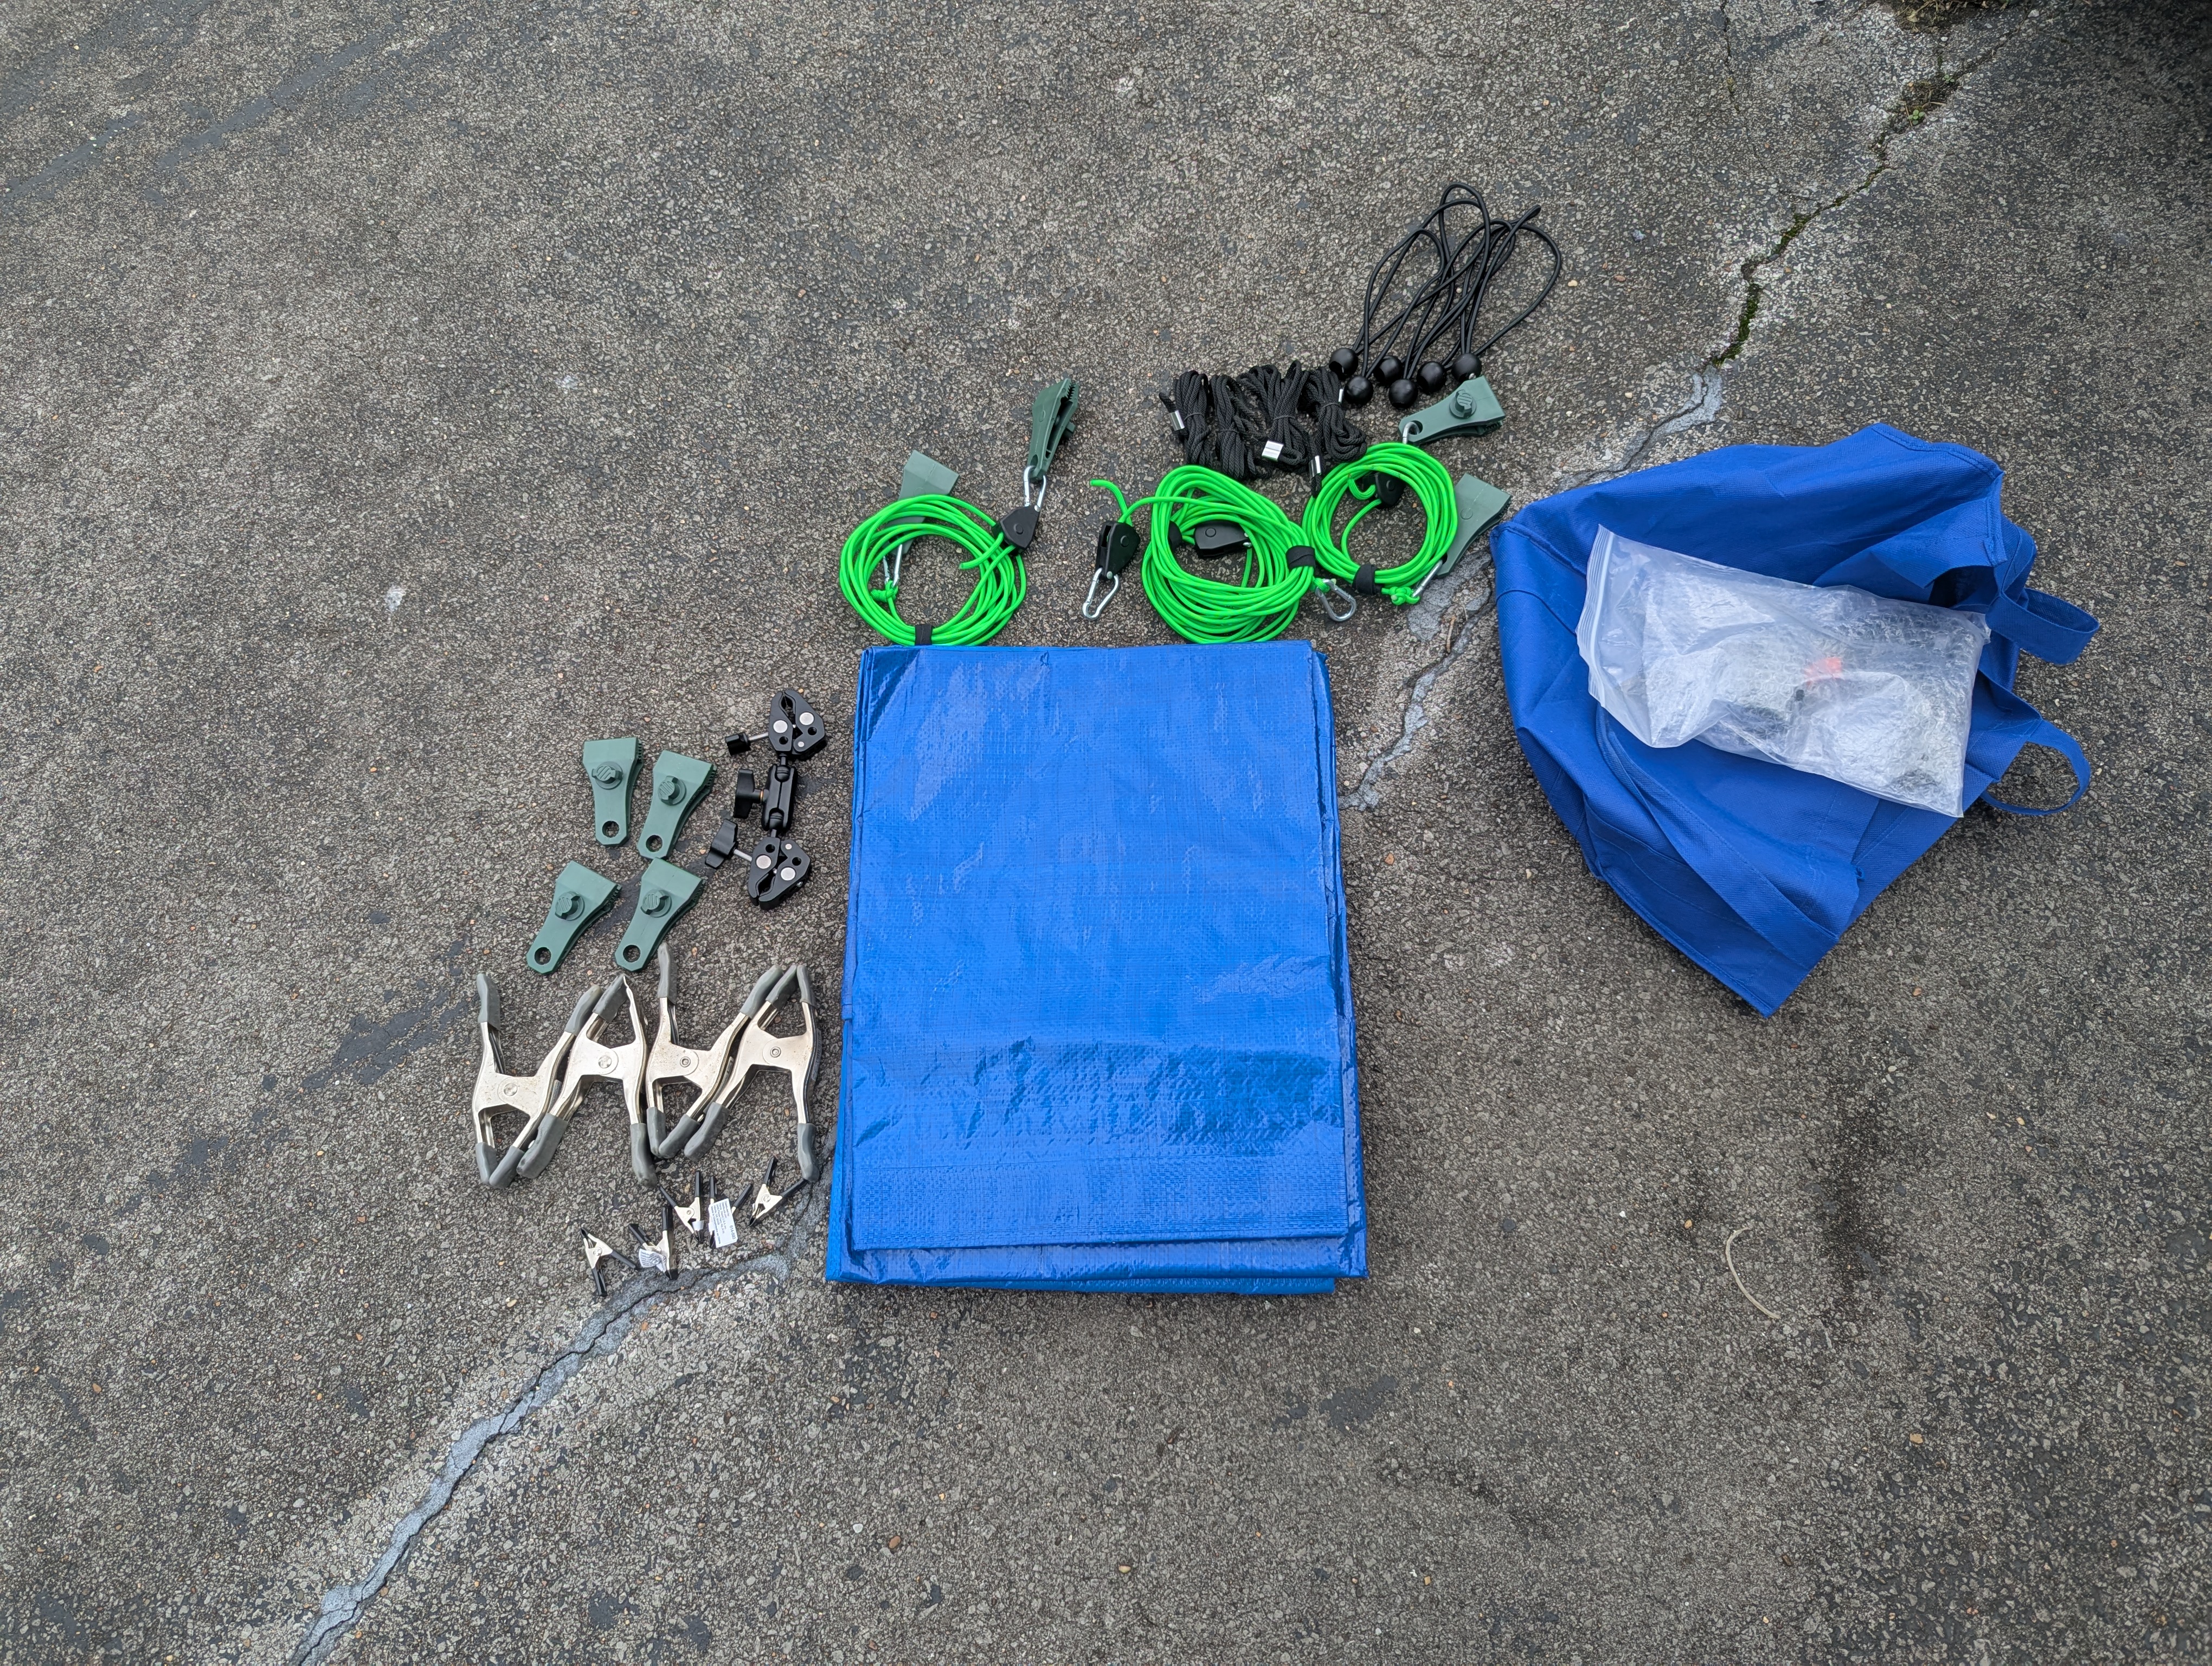
- Bag
- QR scanner that works better in sunlight
- Four green ropes with D-rings and ratchets: two with tarp clips on both ends and two without
- Four extra black ropes
- Six ball bungees
- Three tarps
- Four extra tarp clips
- Four large A clamps
- Five small A clamps
- Double-sided pole/umbrella clamp
Screen Setup
This goes over specifics for a pop-up tent. Other tents are similar.
Pre-Setup Checklist
- Tent is secured/weighted and at highest usable height.
- Don't use the normal background stand.
- Correct side of screen confirmed for the event (green or blue).
- Wind/rain/sun plan decided before setting up gear.
- Tent QR scanner ready if QR scanning is part of the job.
- Tarps, clips, and clamps accessible before final tightening.
- If necessary, a stepladder, chair, or closed and latched Pelican to stand on.
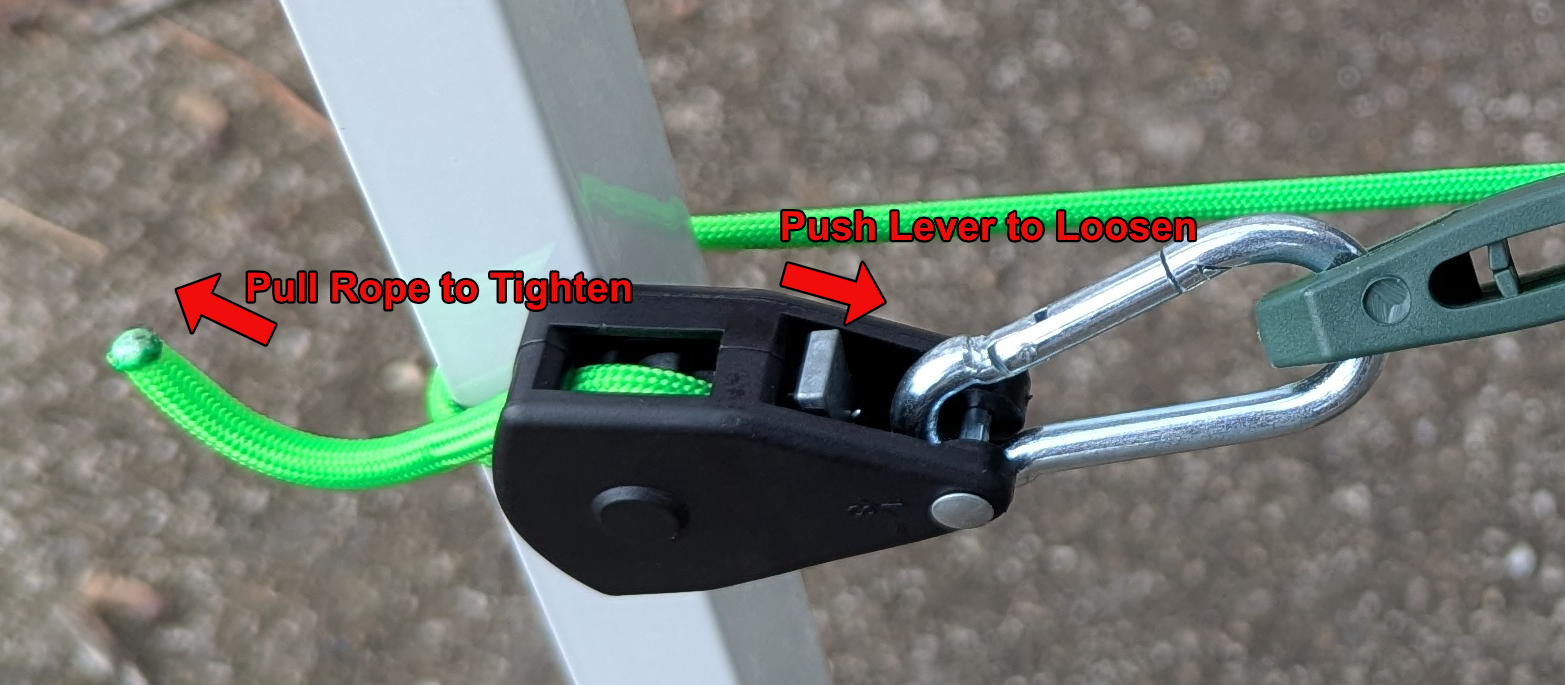
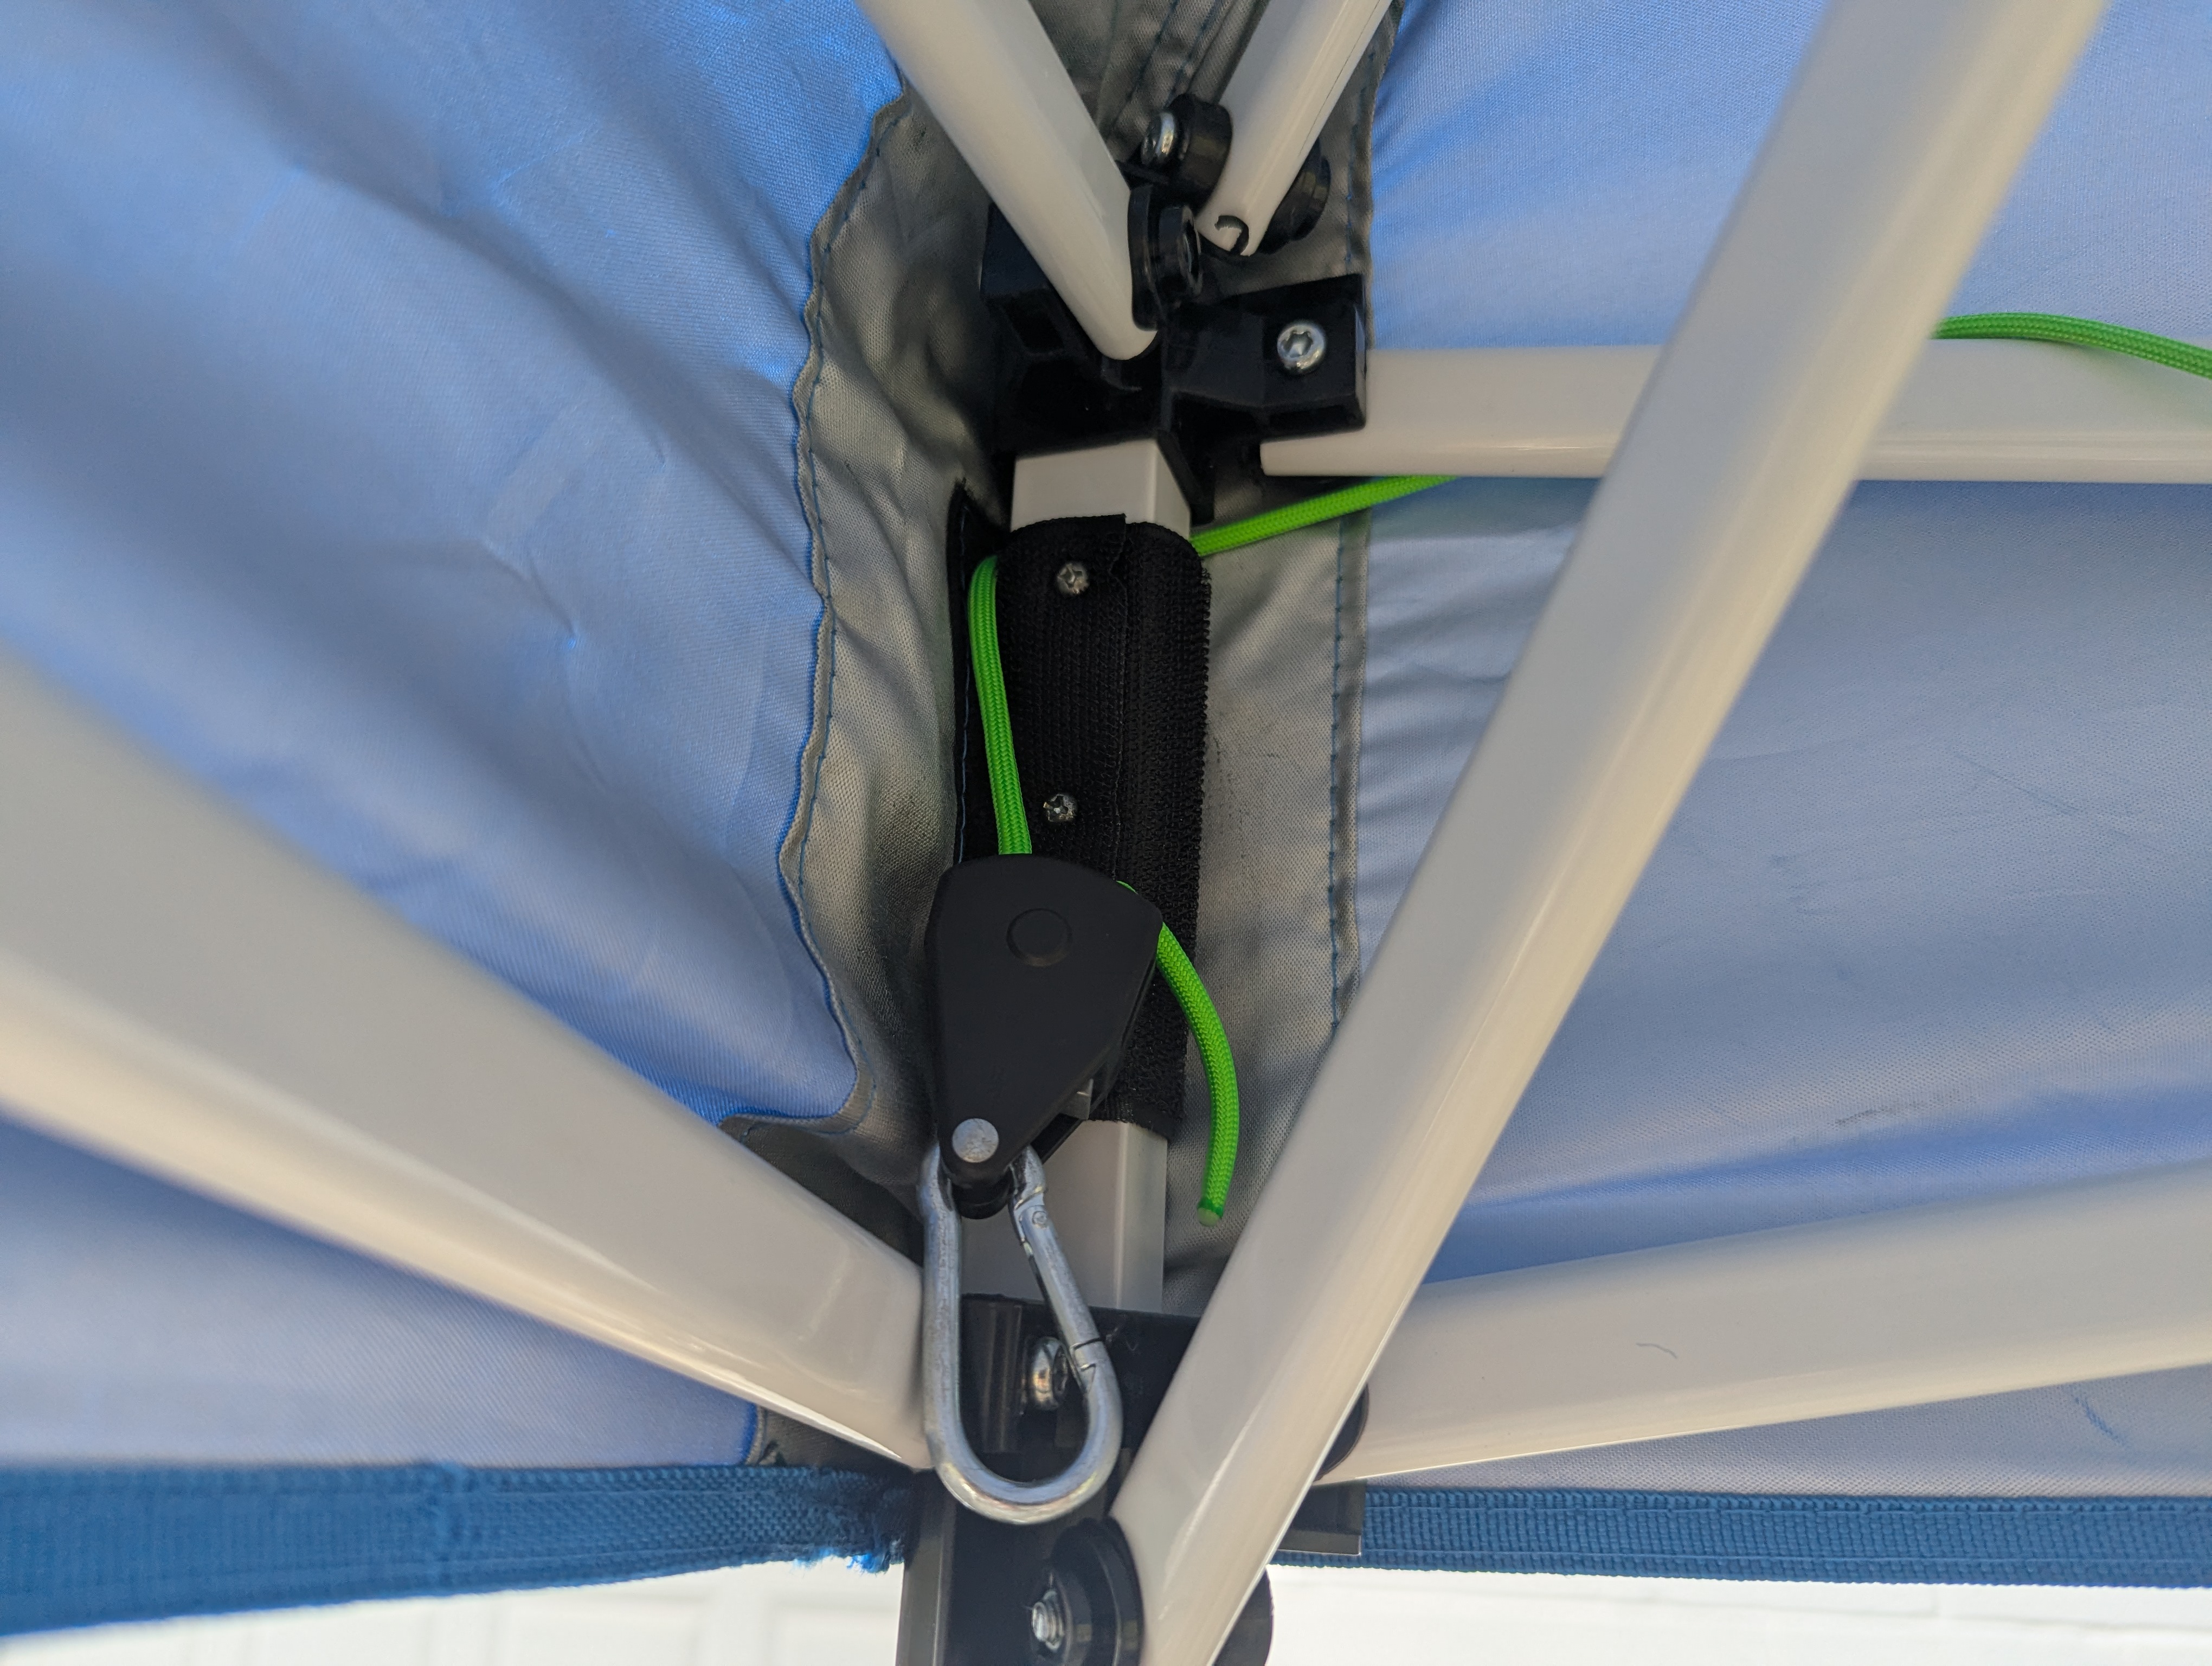
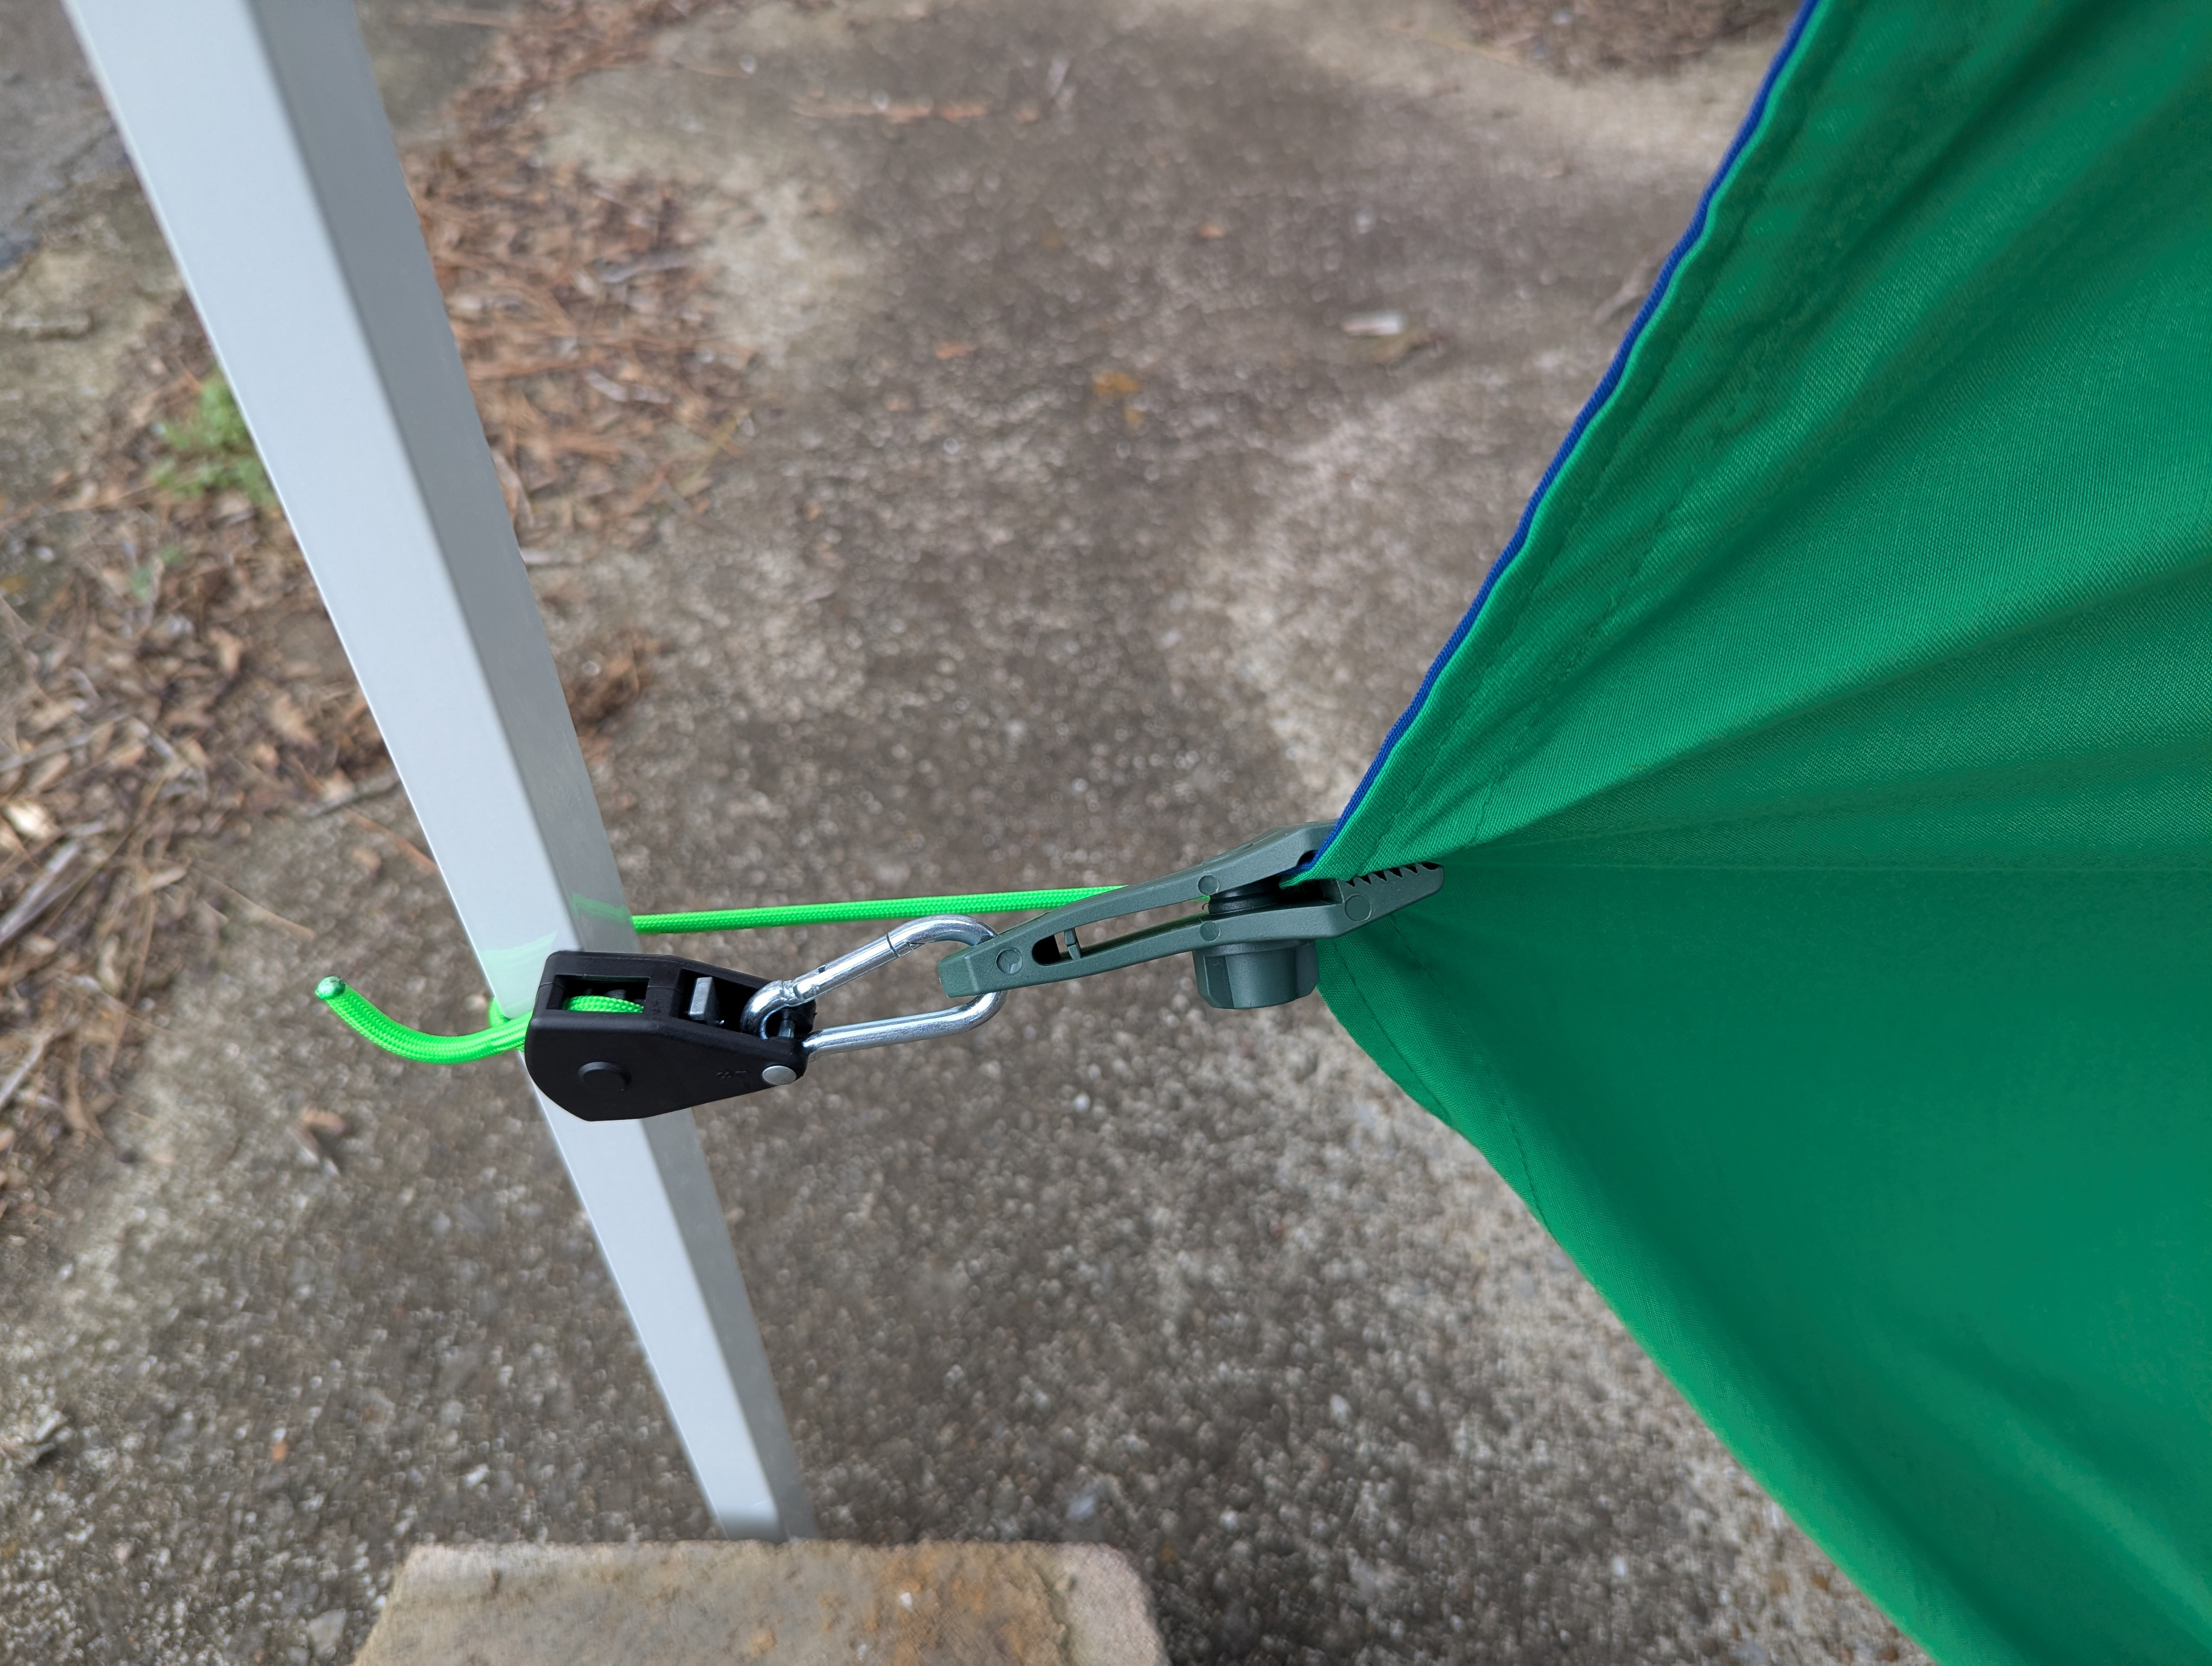
Ratchet
Goal: Know how the ratchets work.
The ratchet ropes shorten/tighten by pulling on the loose end. You can release/loosen them with the small silver lever on the edge.
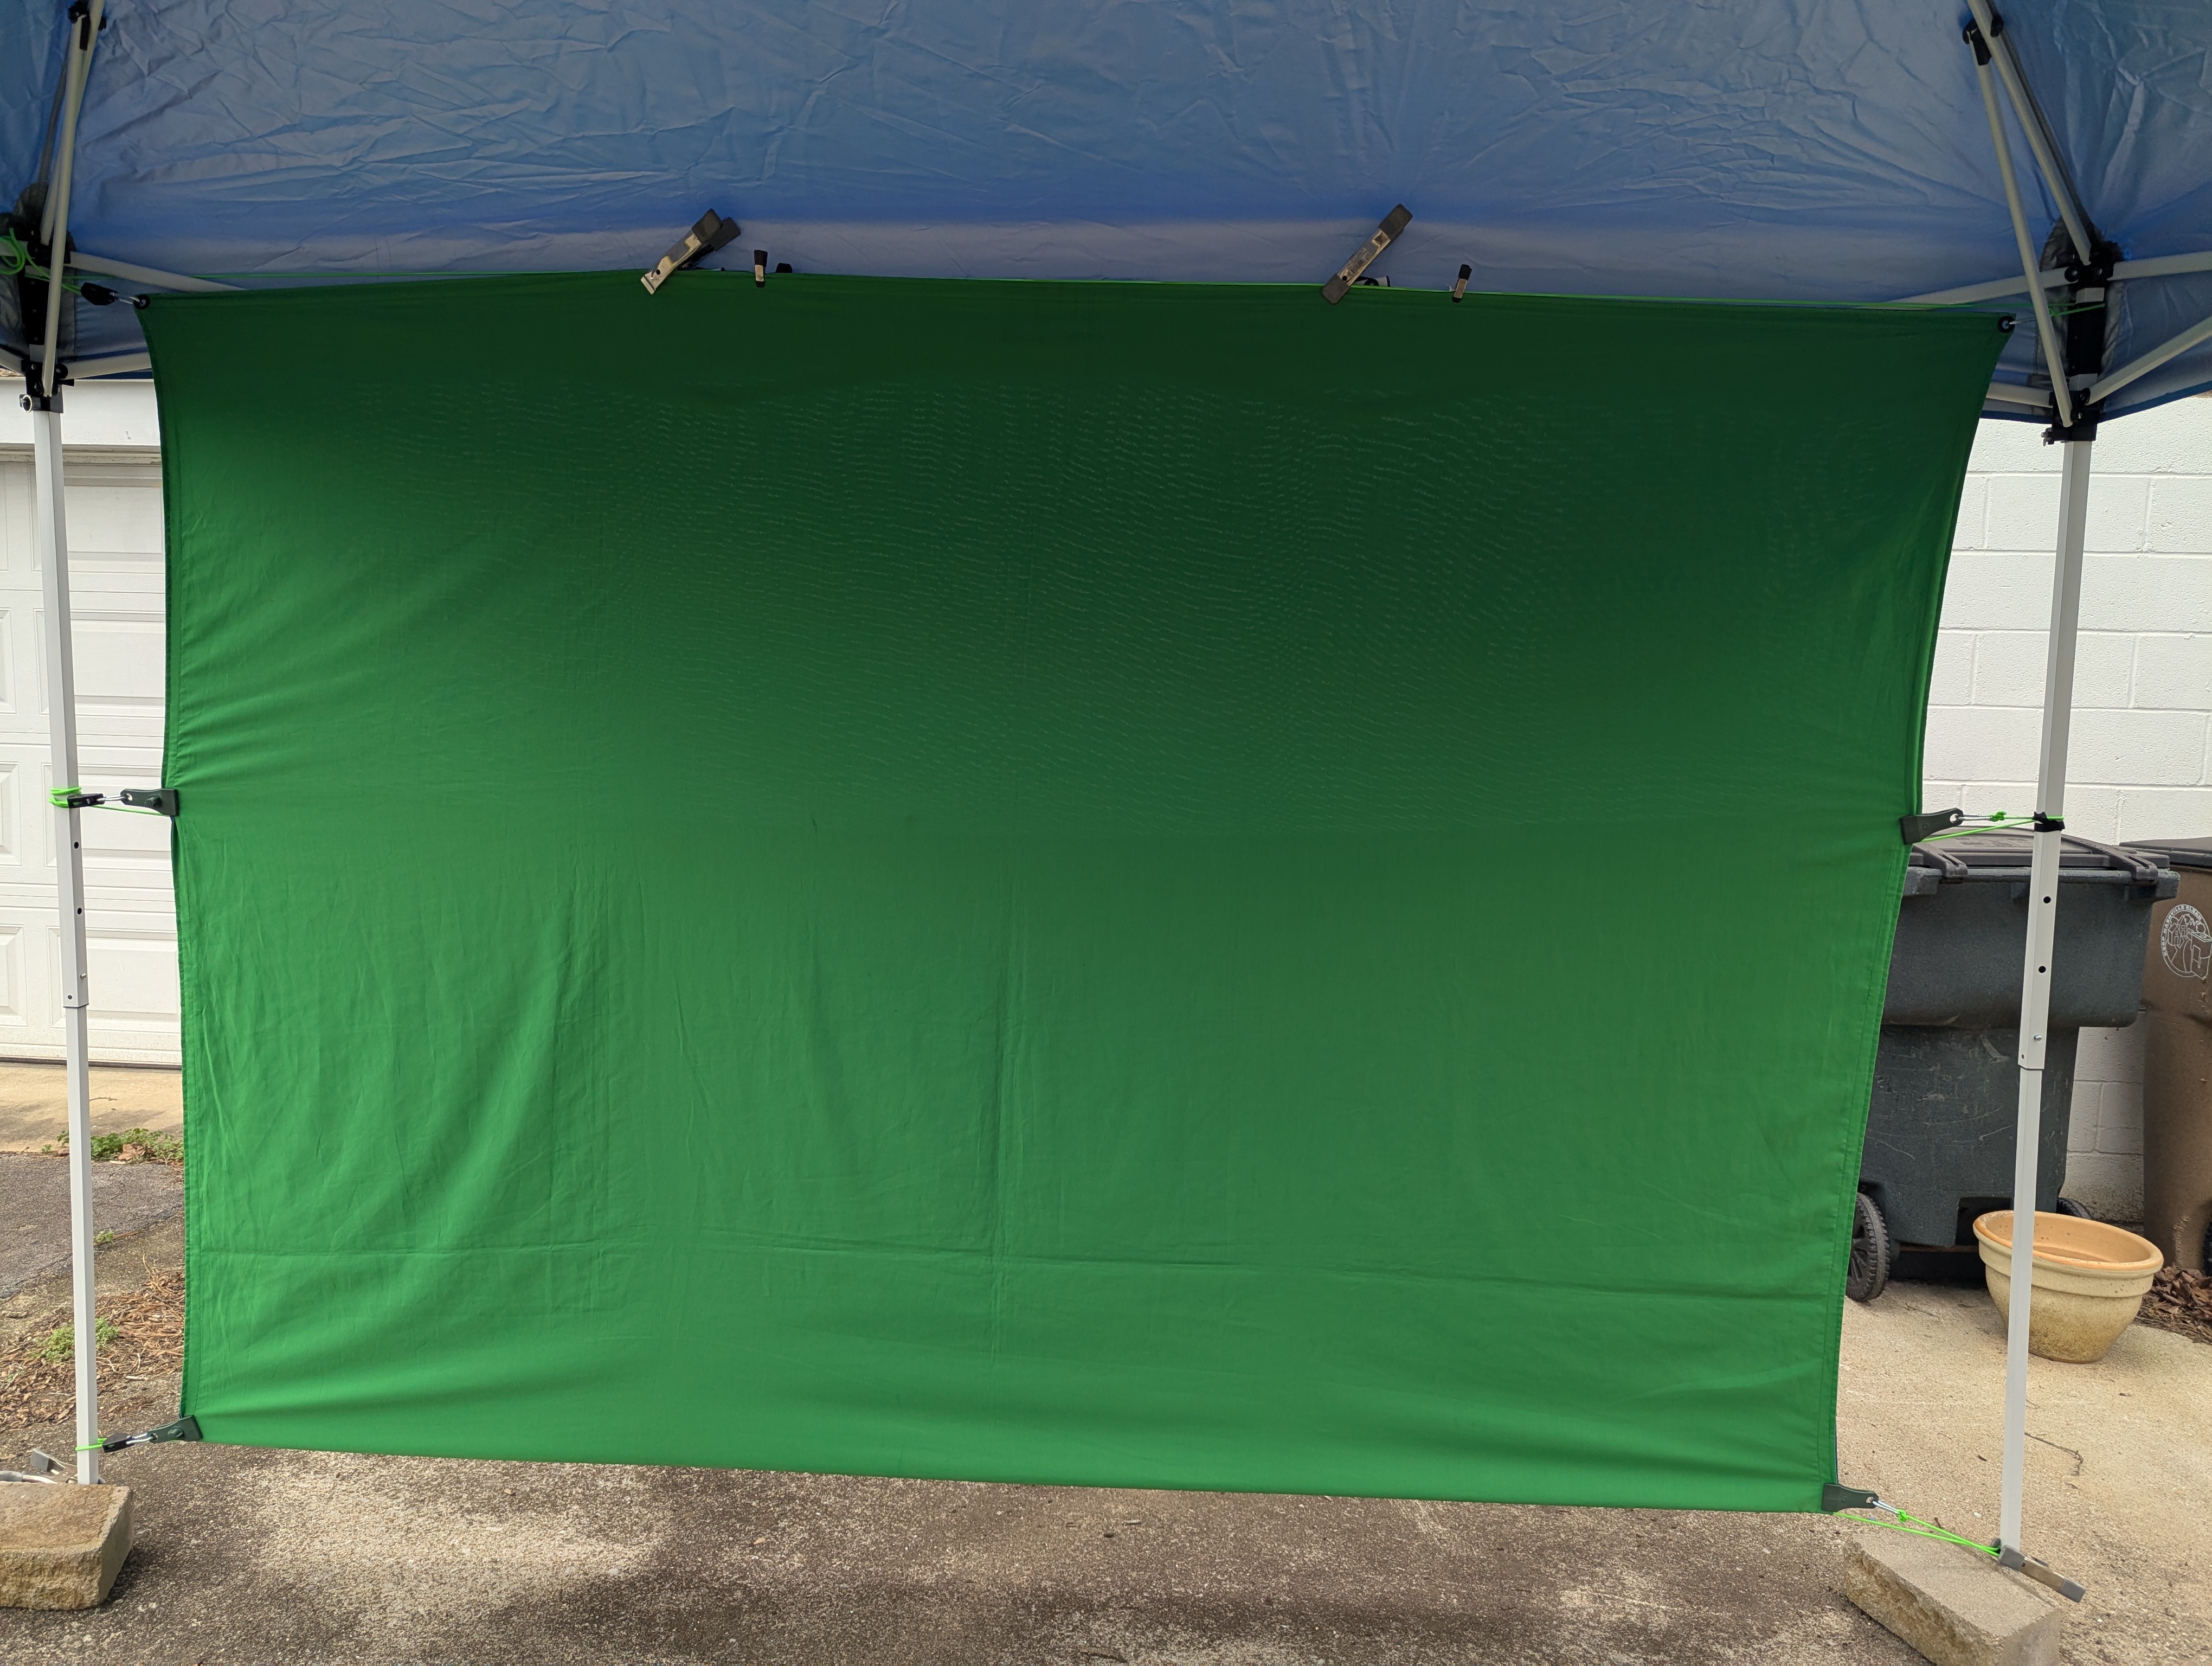
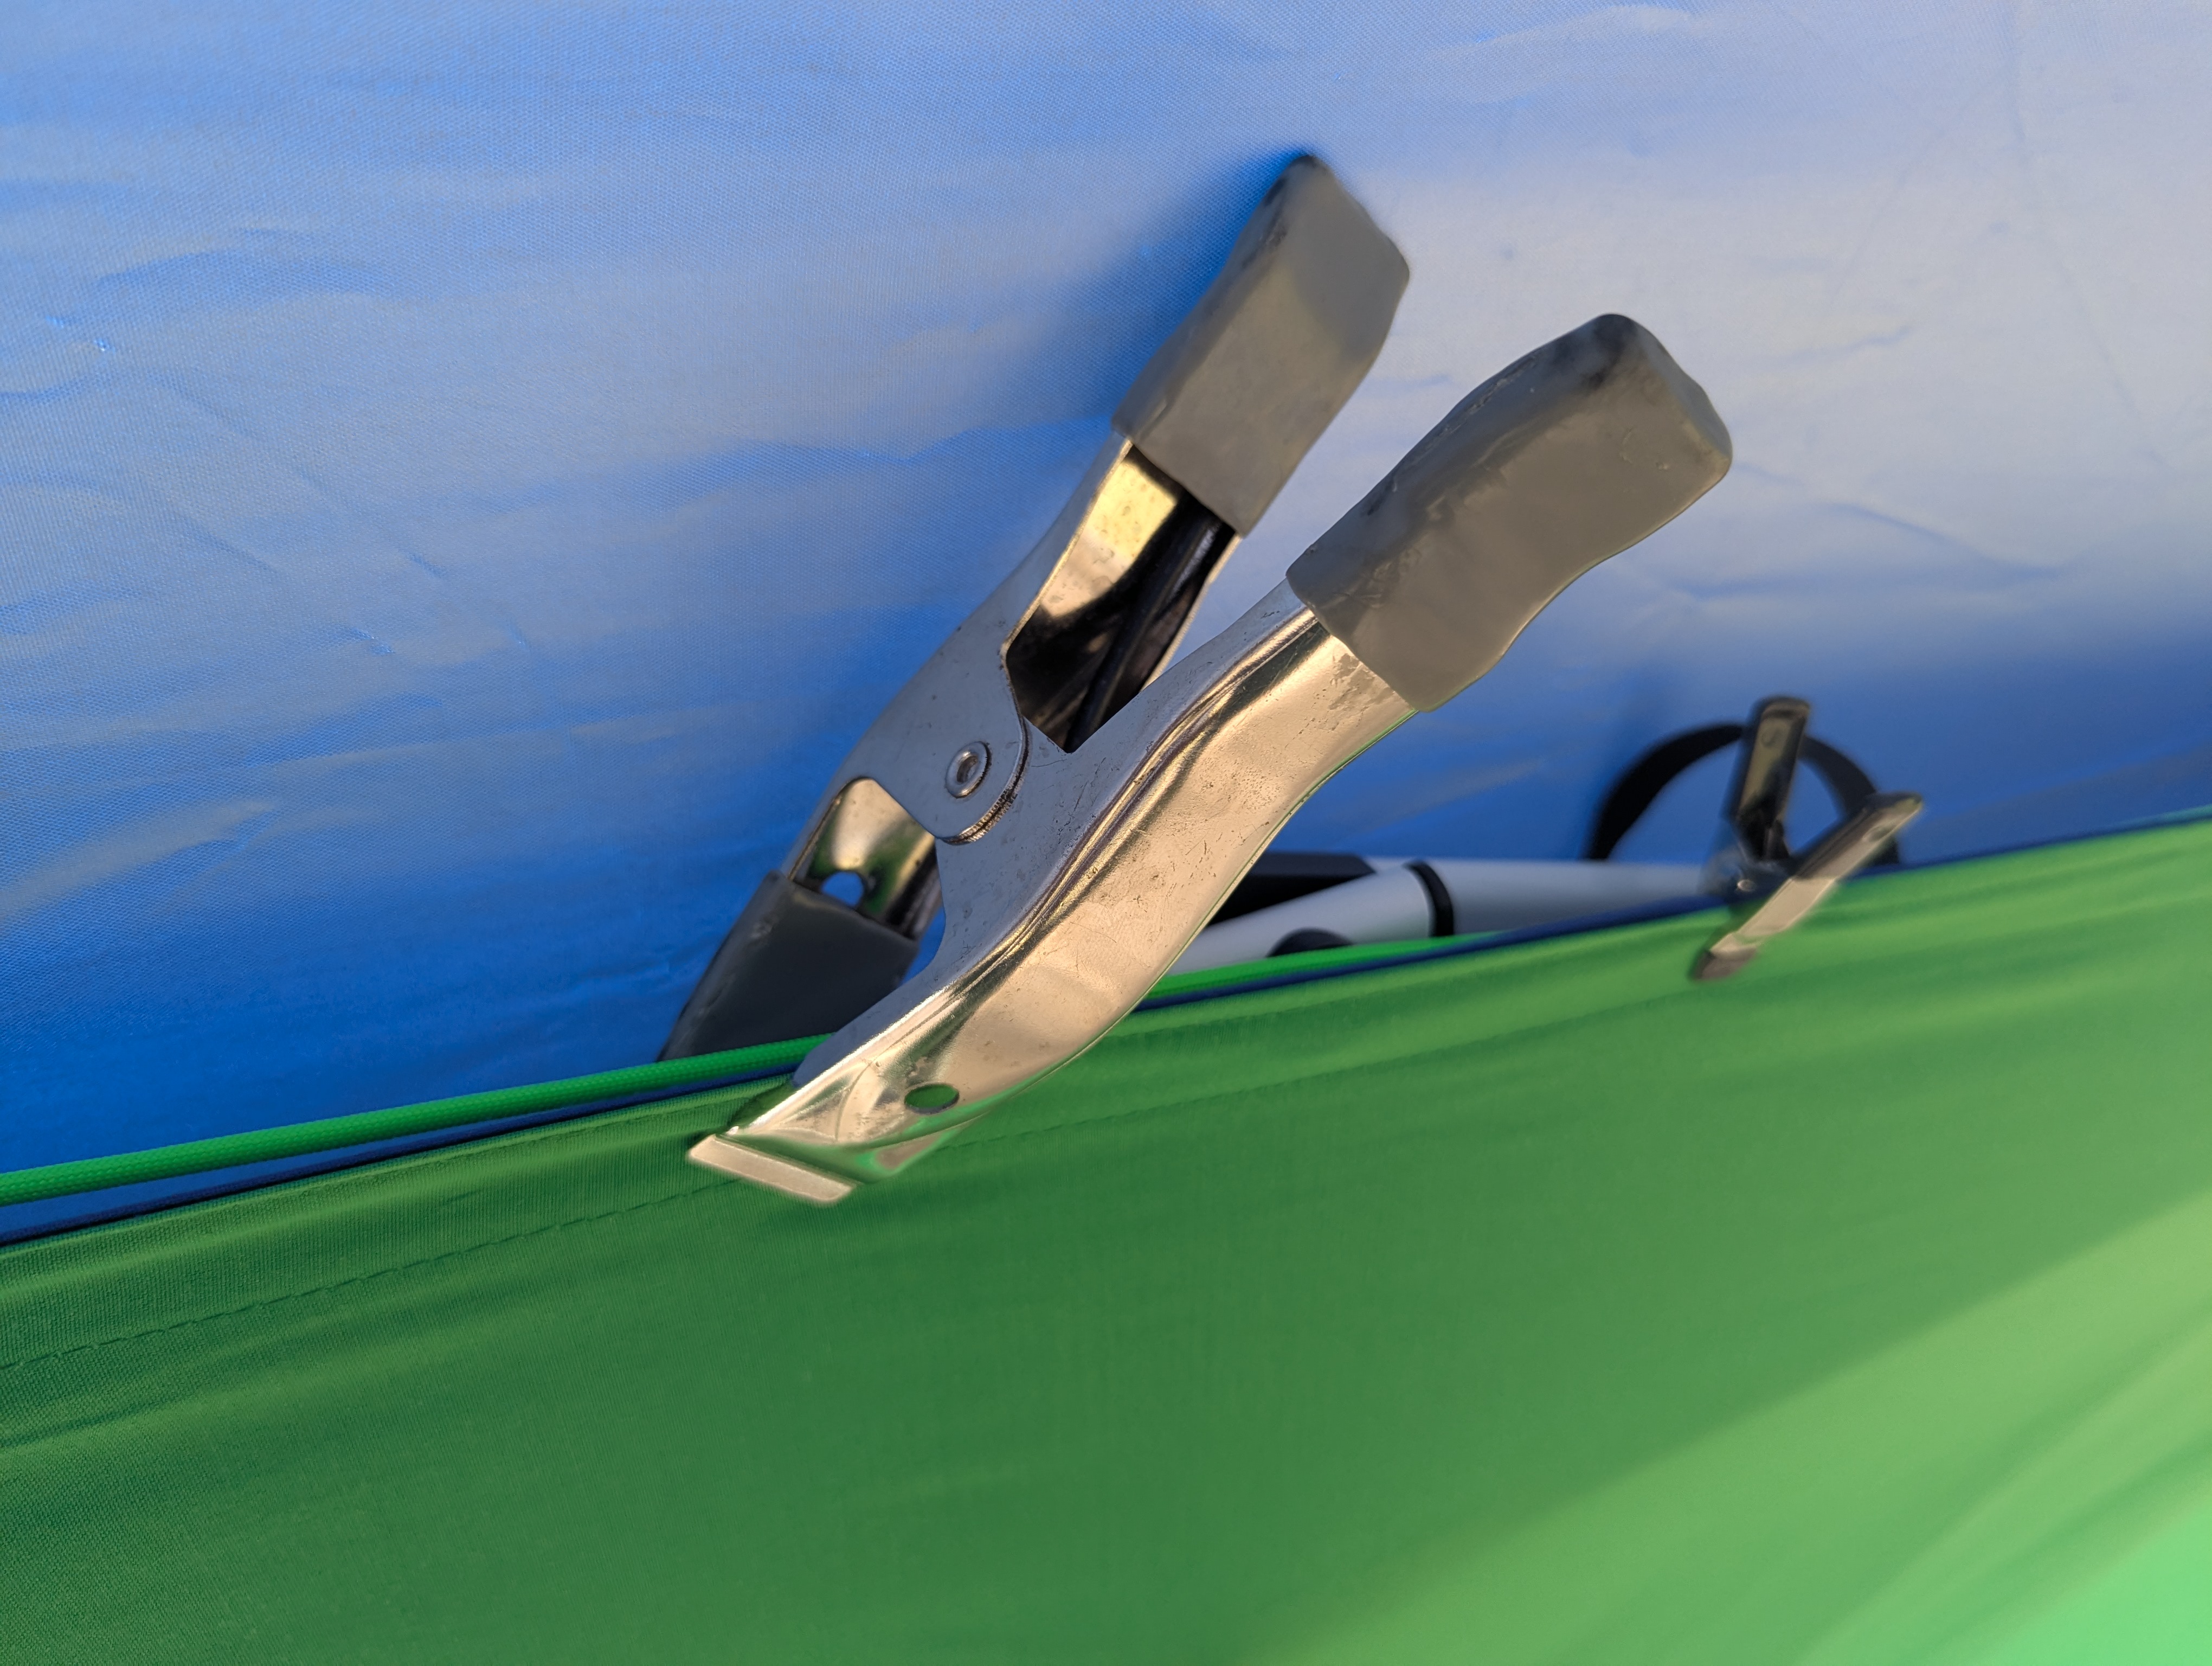
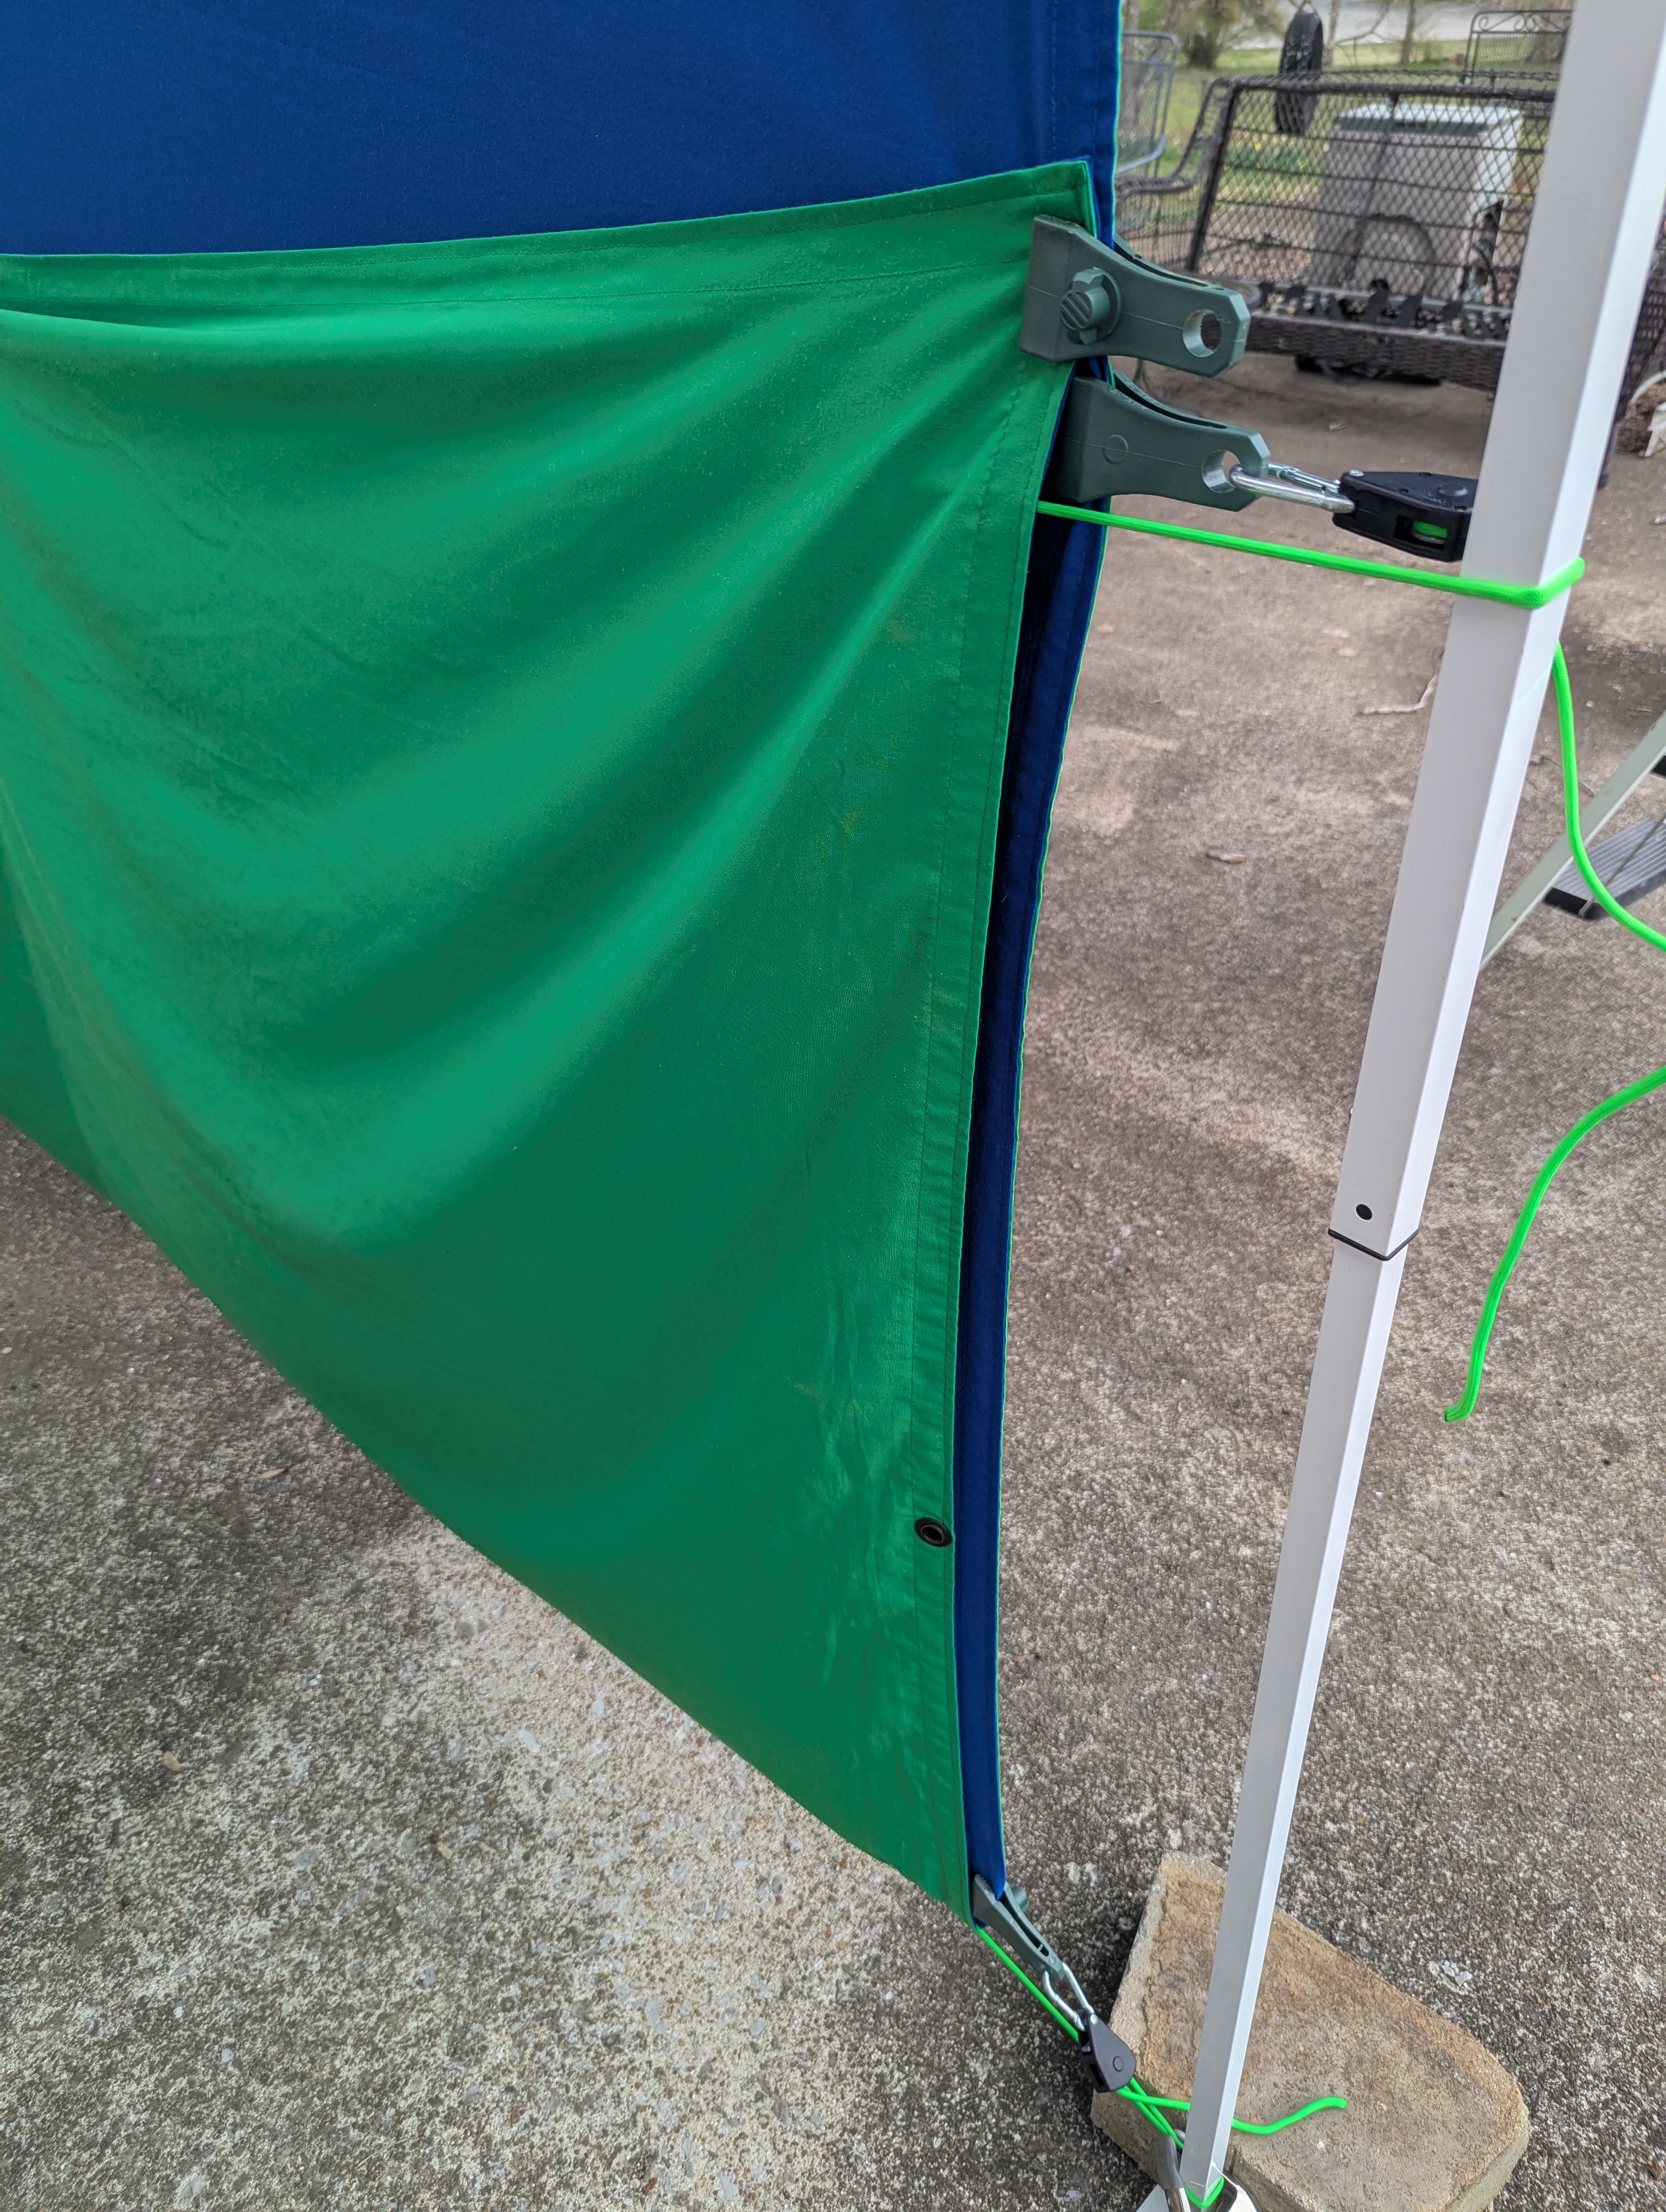
Top
Goal: Center the screen and create firm top tension without sagging.
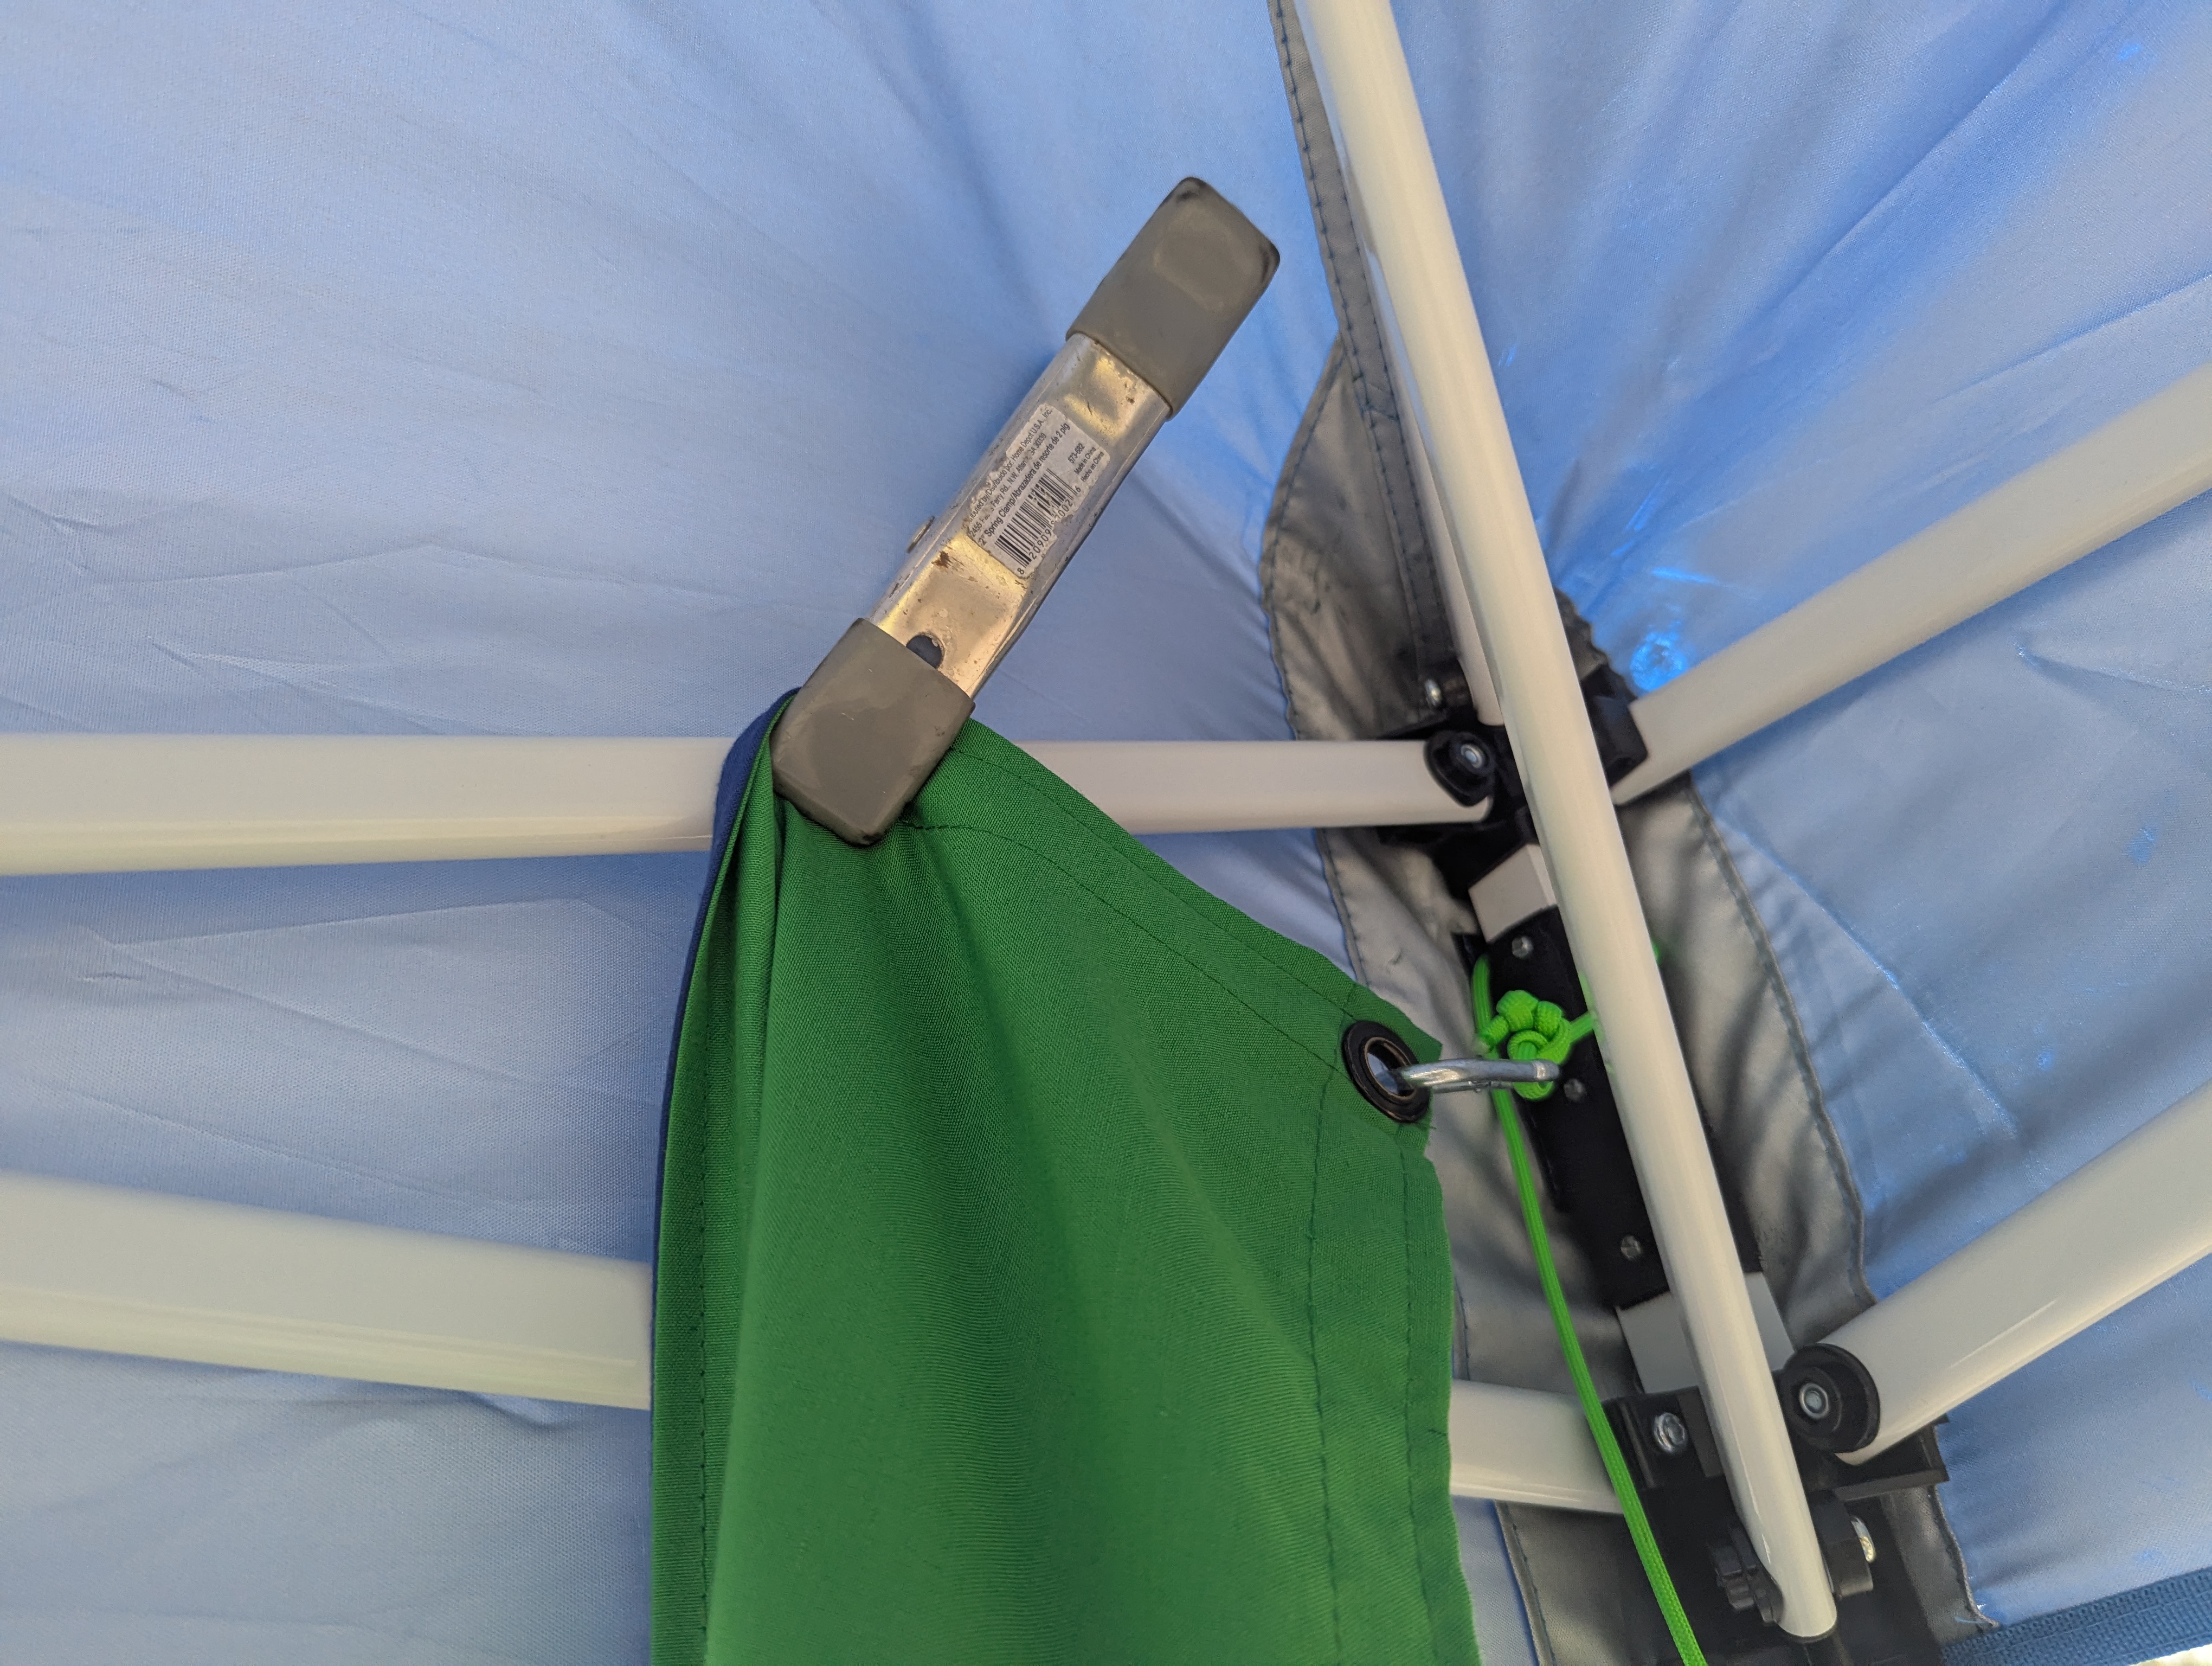
- Wrap the non-ratchet end of one of the green ropes without a tarp clip around the outside of one of the back tent legs (camera-right is typical).
- Grab the corresponding top corner of the screen (green or blue side depending on the event) and hook the D-ring from the rope to the corner grommet. It is helpful to temporarily use an A clamp to hold the screen to the top of the tent framework.
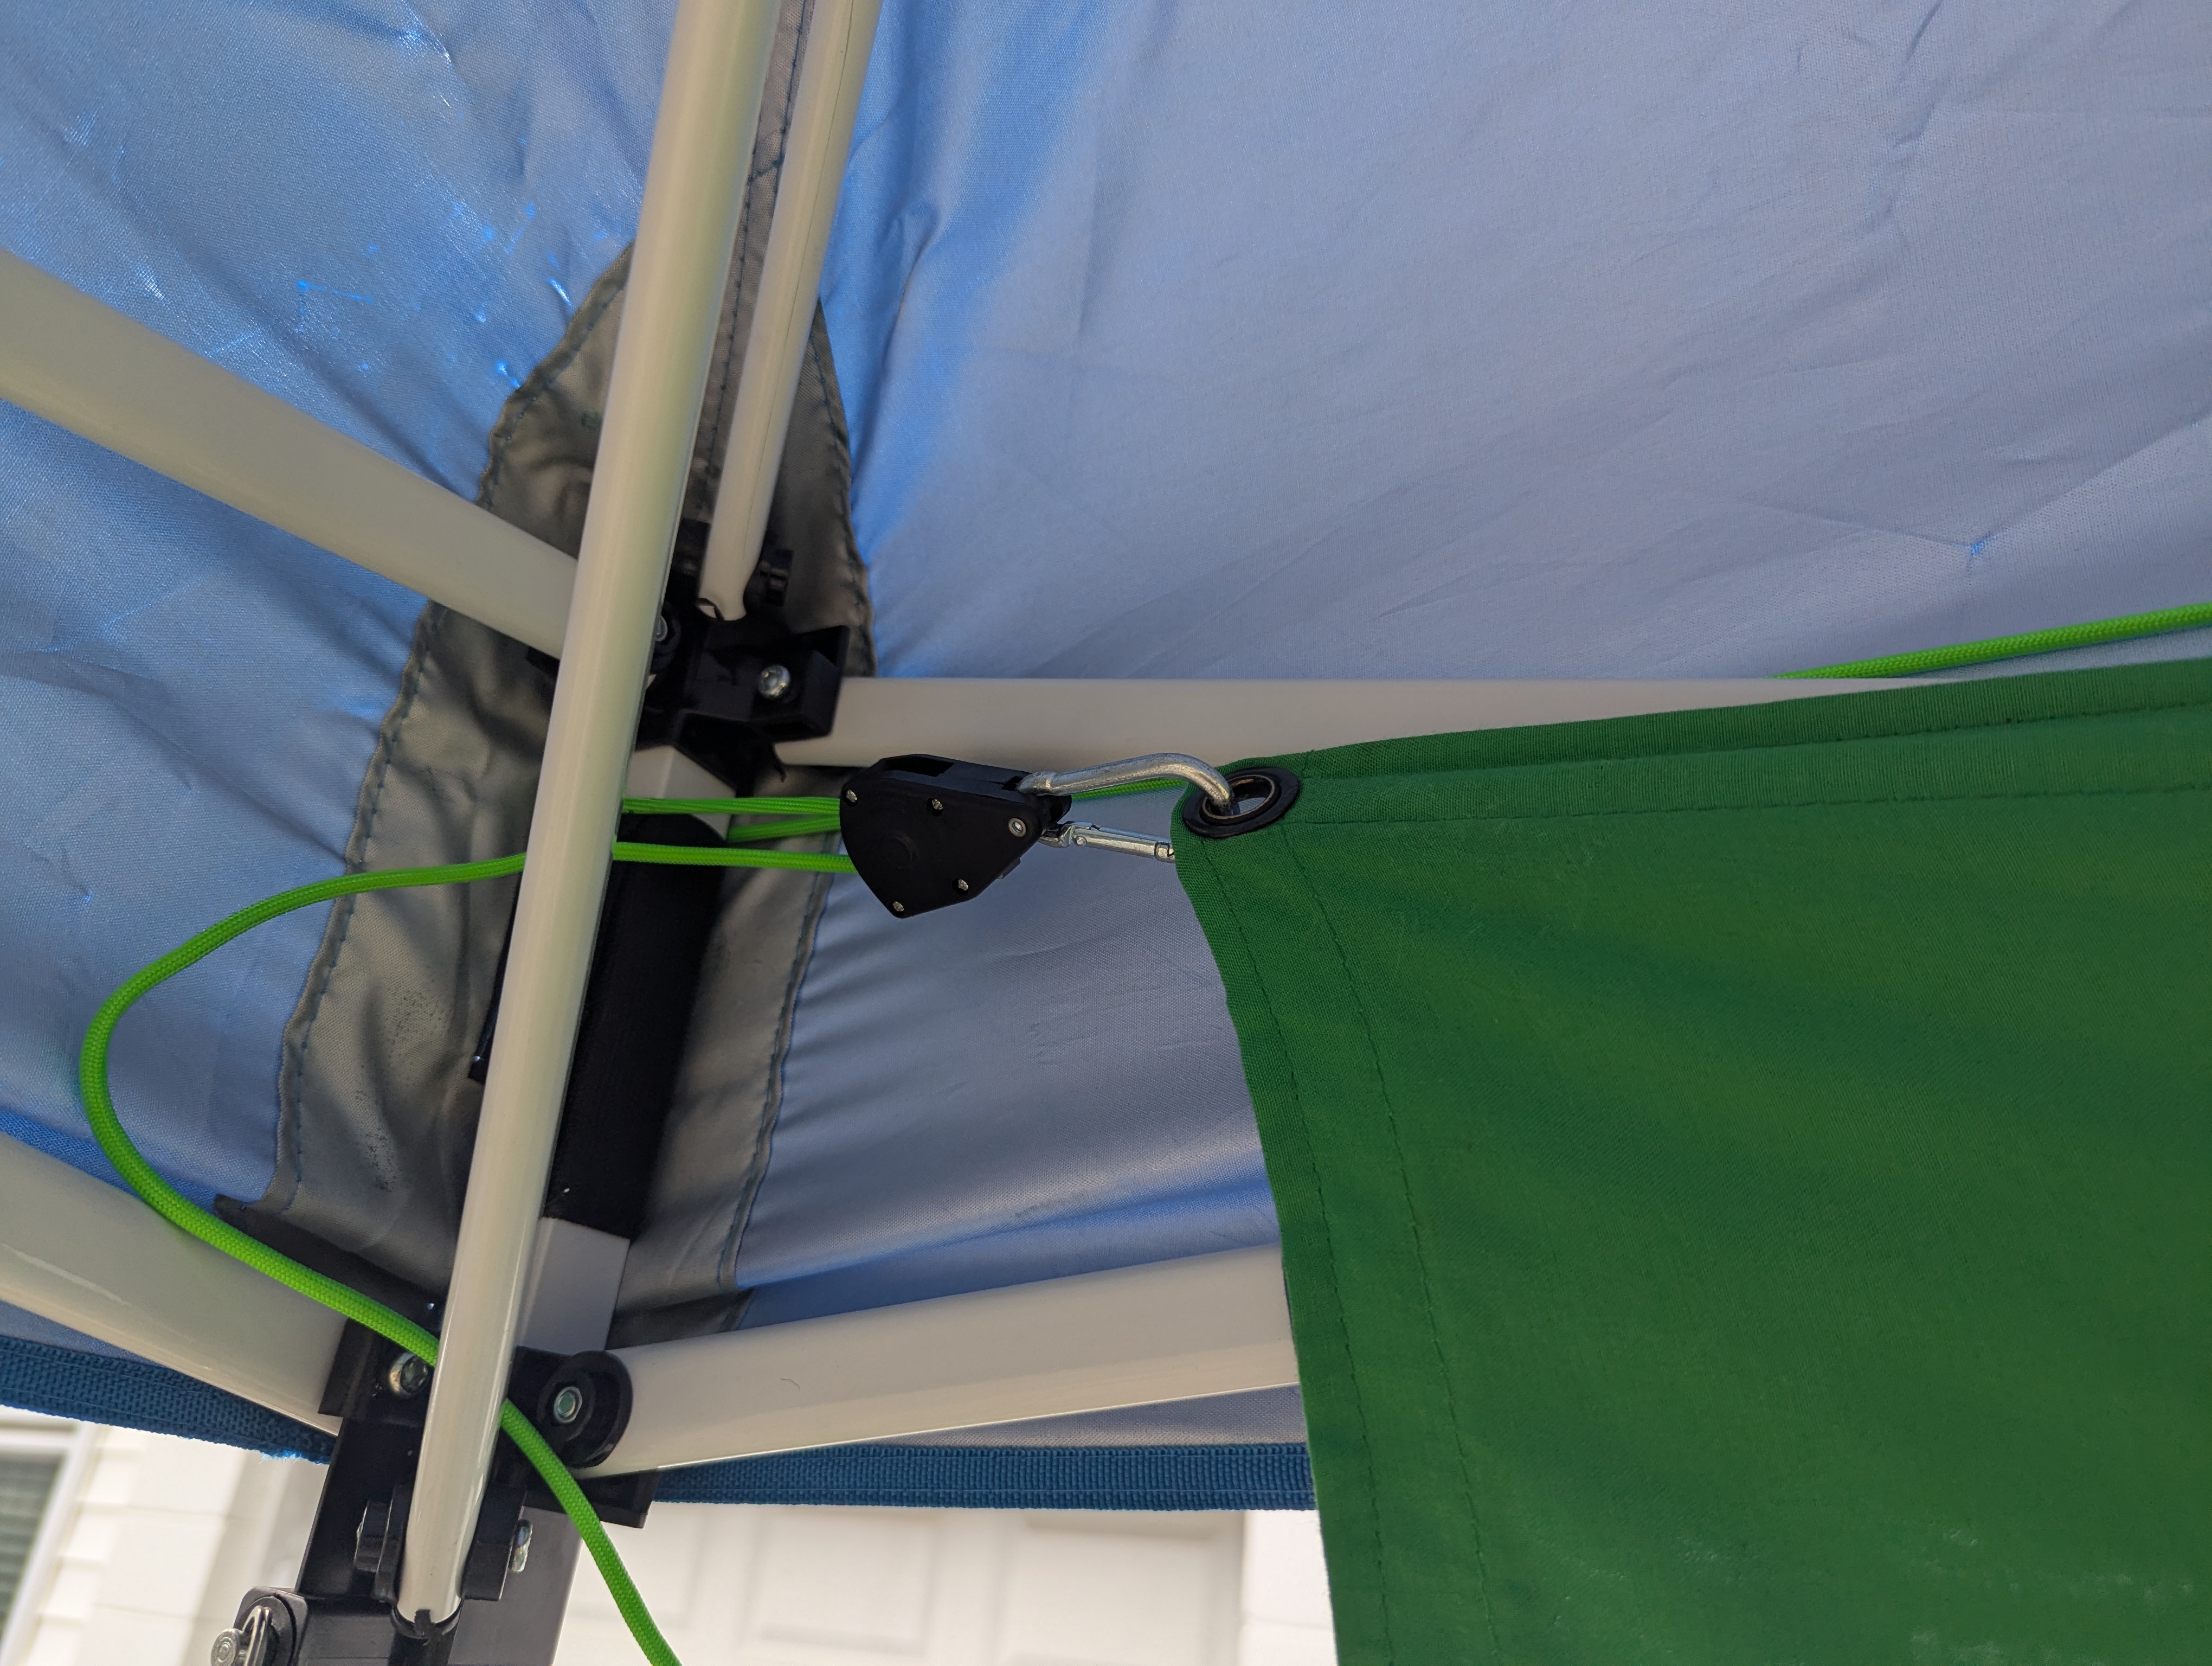
- Stretch the ratchet end of the rope along the top of the tent, under the canopy but outside of the legs, to the other back leg and wrap it around.
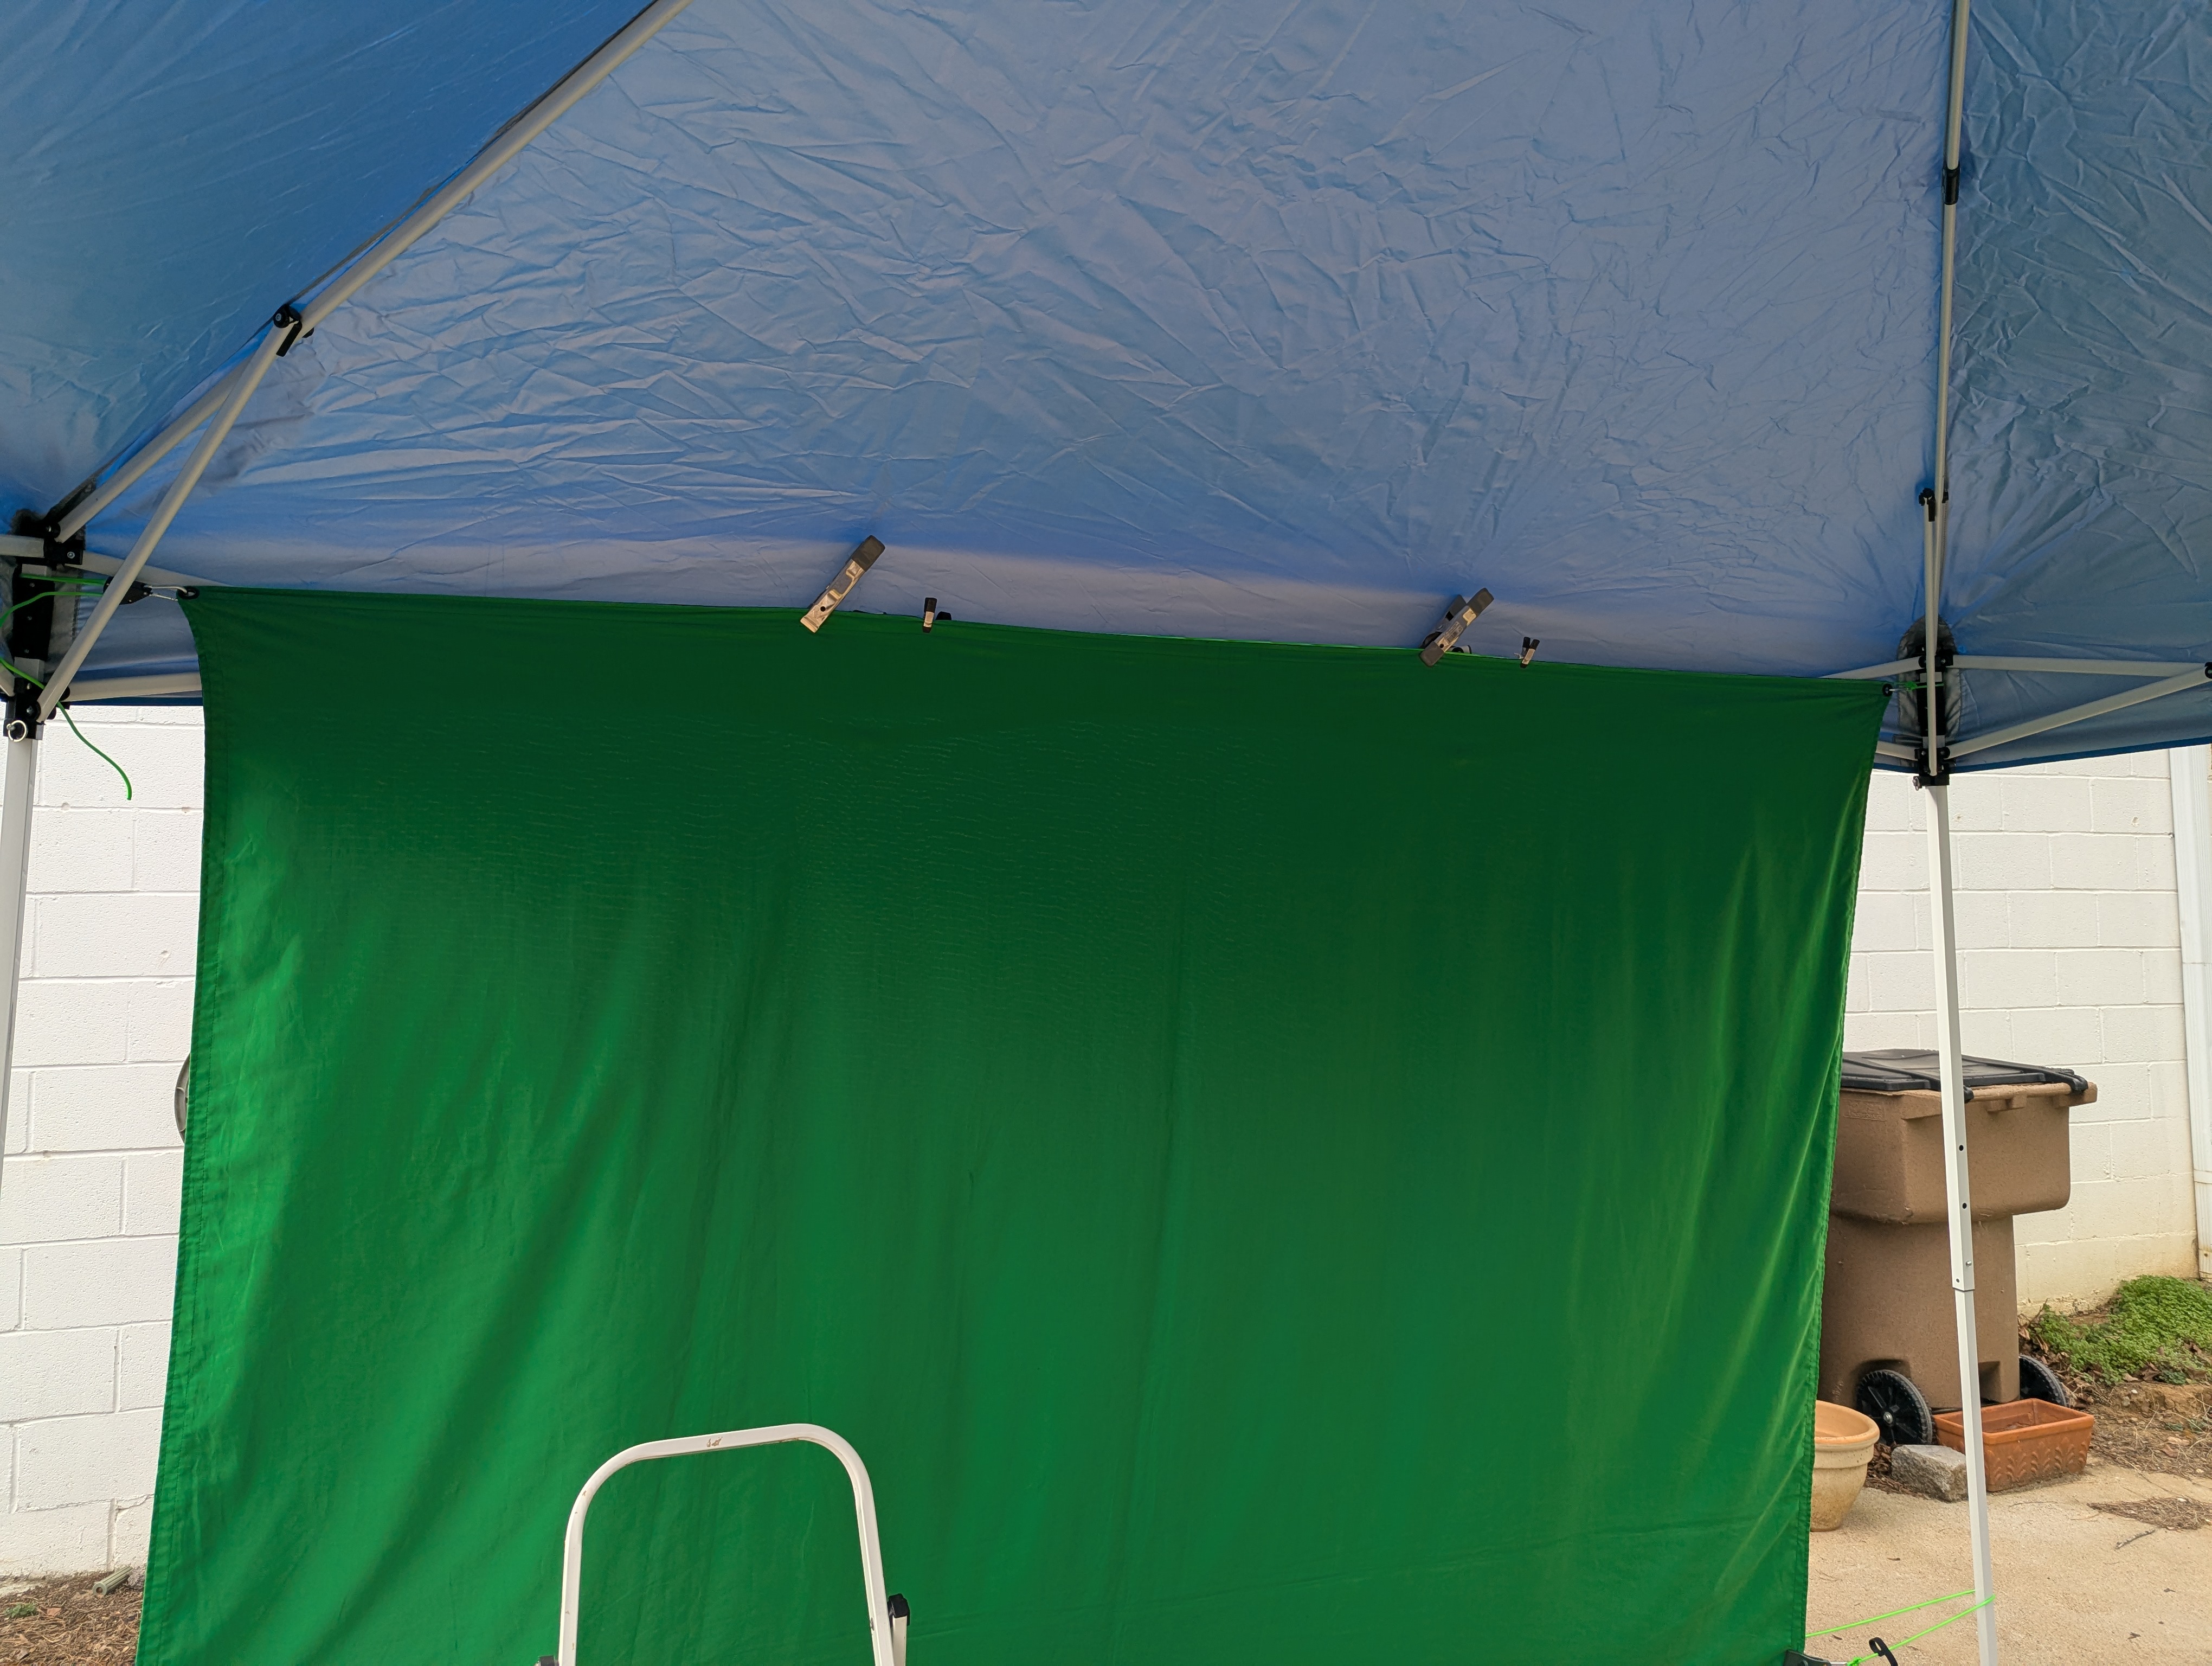
- Stretch the screen over, clip the D-ring into the grommet on the other top corner, and ratchet the rope tight.
- Use small and/or large A clamps to attach the screen to the tight rope and tent framework. Keep the screen as centered as possible in the available space and keep it tight in the middle.
Bottom
Goal: Keep the fabric off the ground while securing the screen and keeping it tight and smooth.
- For the bottom, it is similar, but you will probably need a green rope with tarp clips in case the tent is not tall enough for the bottom grommets to line up. Attach the clip on the non-ratchet end to the bottom corner of the screen, keeping it several inches off the ground so it cannot wick up water if it rains.
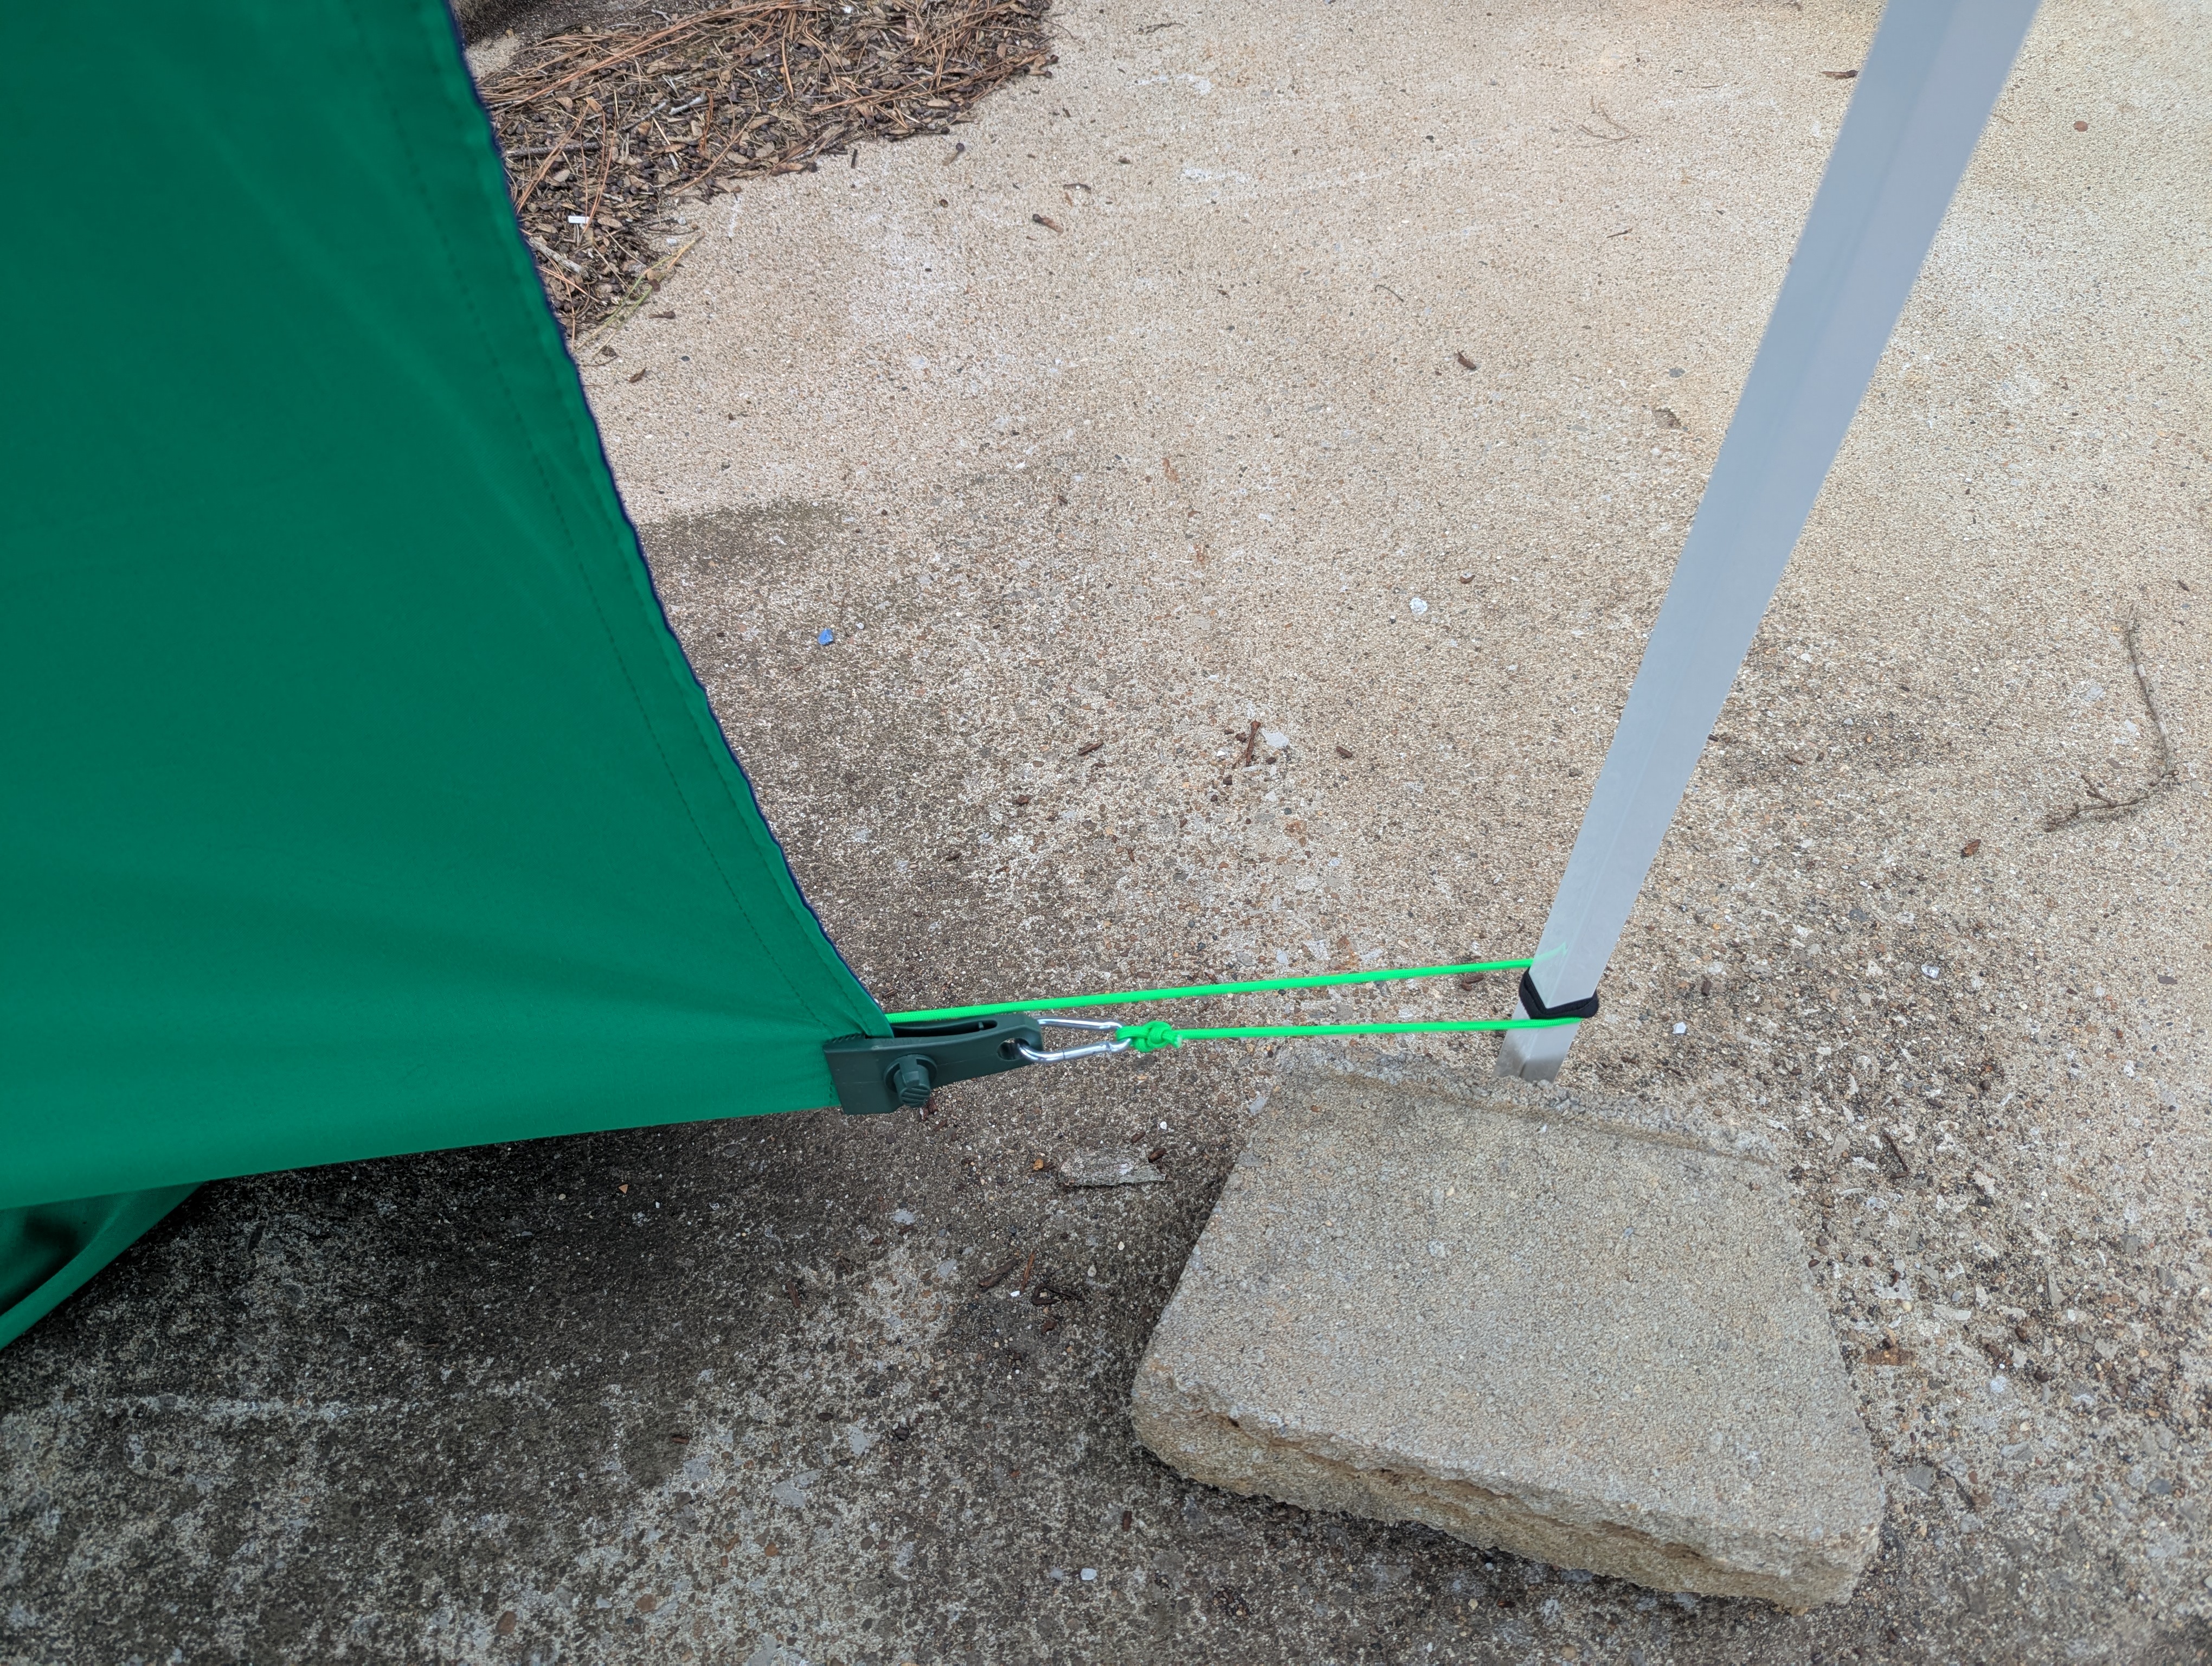
- Wrap the rope around the outside of the legs to the other side and attach the tarp clip to the screen. Try to line clips up to keep fabric smooth, then tighten the ratchet.
- If things are actively wet, use clamps to temporarily hold the fabric up out of the water whenever needed.
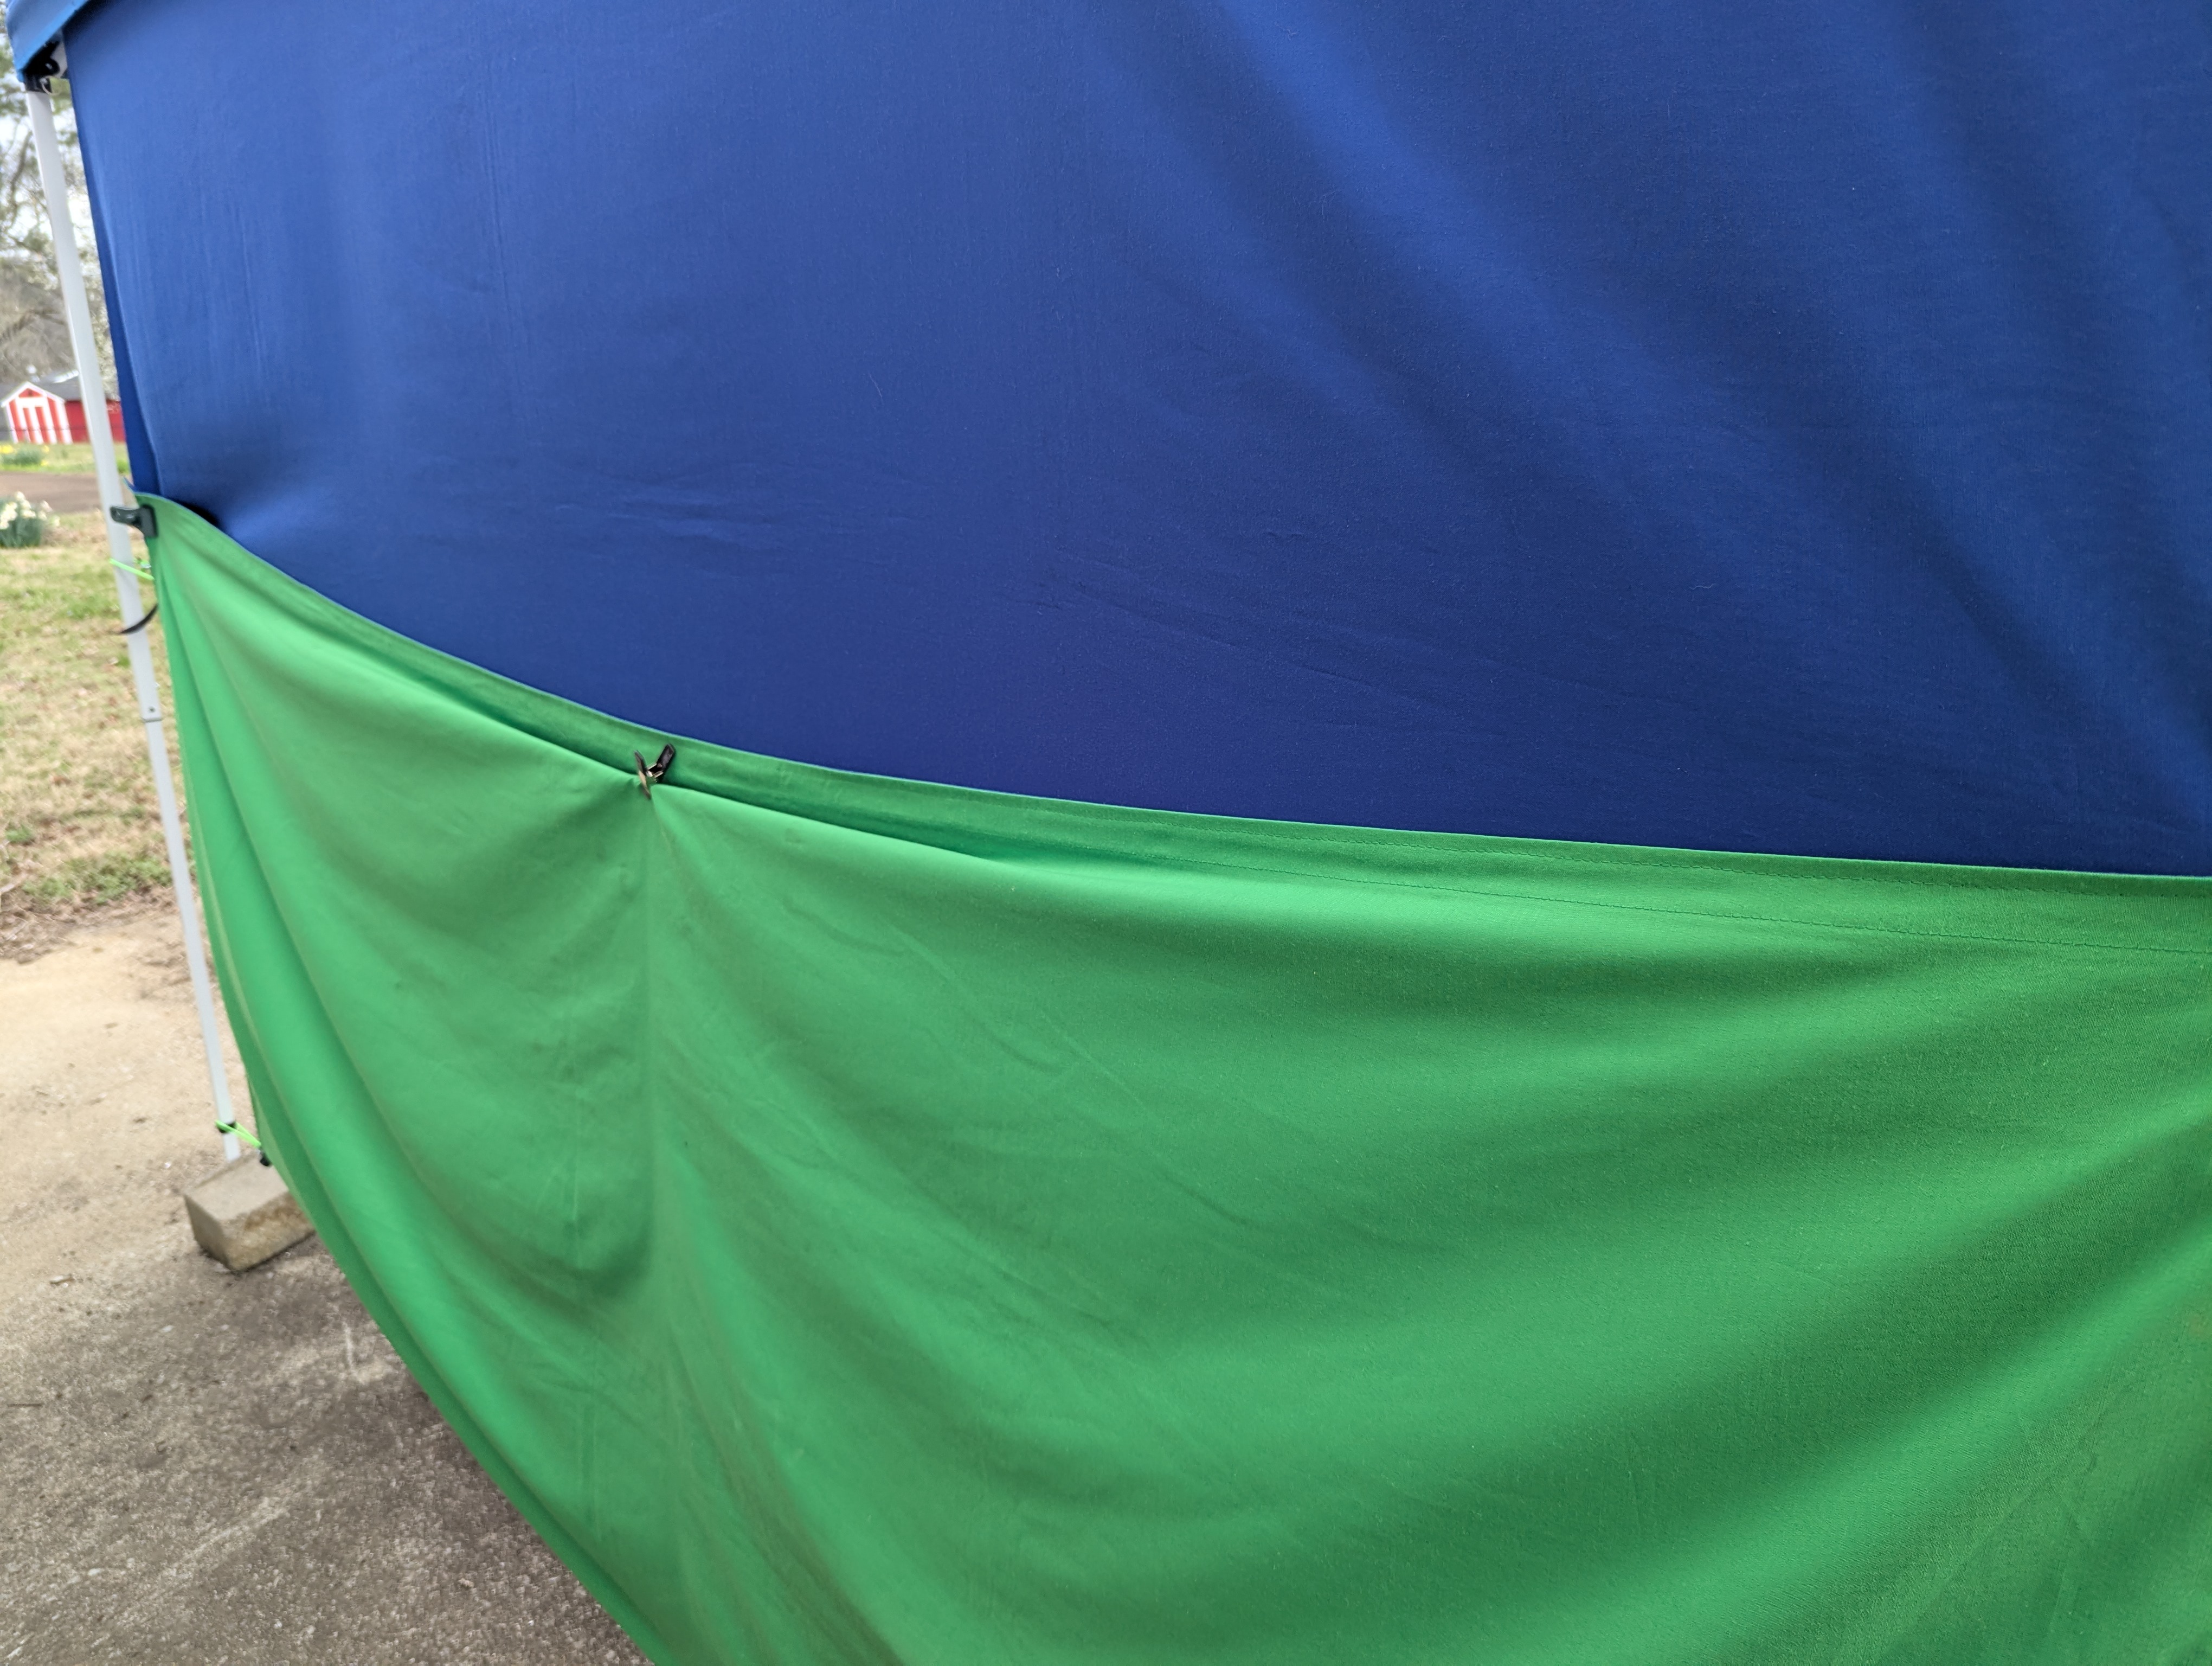
Middle
Goal: Control the folded train and remove mid-screen sag.
- Attach a third green rope, one with tarp clips, roughly in the middle of the screen. Fold the loose bottom trail of the screen up around the bottom rope and use the tarp clip from the middle rope to clip it to the middle of the screen. Depending on tent height, you may need another tarp clip.
- Stretch that rope along the back of the screen and wrap around the other leg the same way. Attach and ratchet tight. It often helps to attach the middle of the folded-up screen train to the tight rope to prevent sagging.
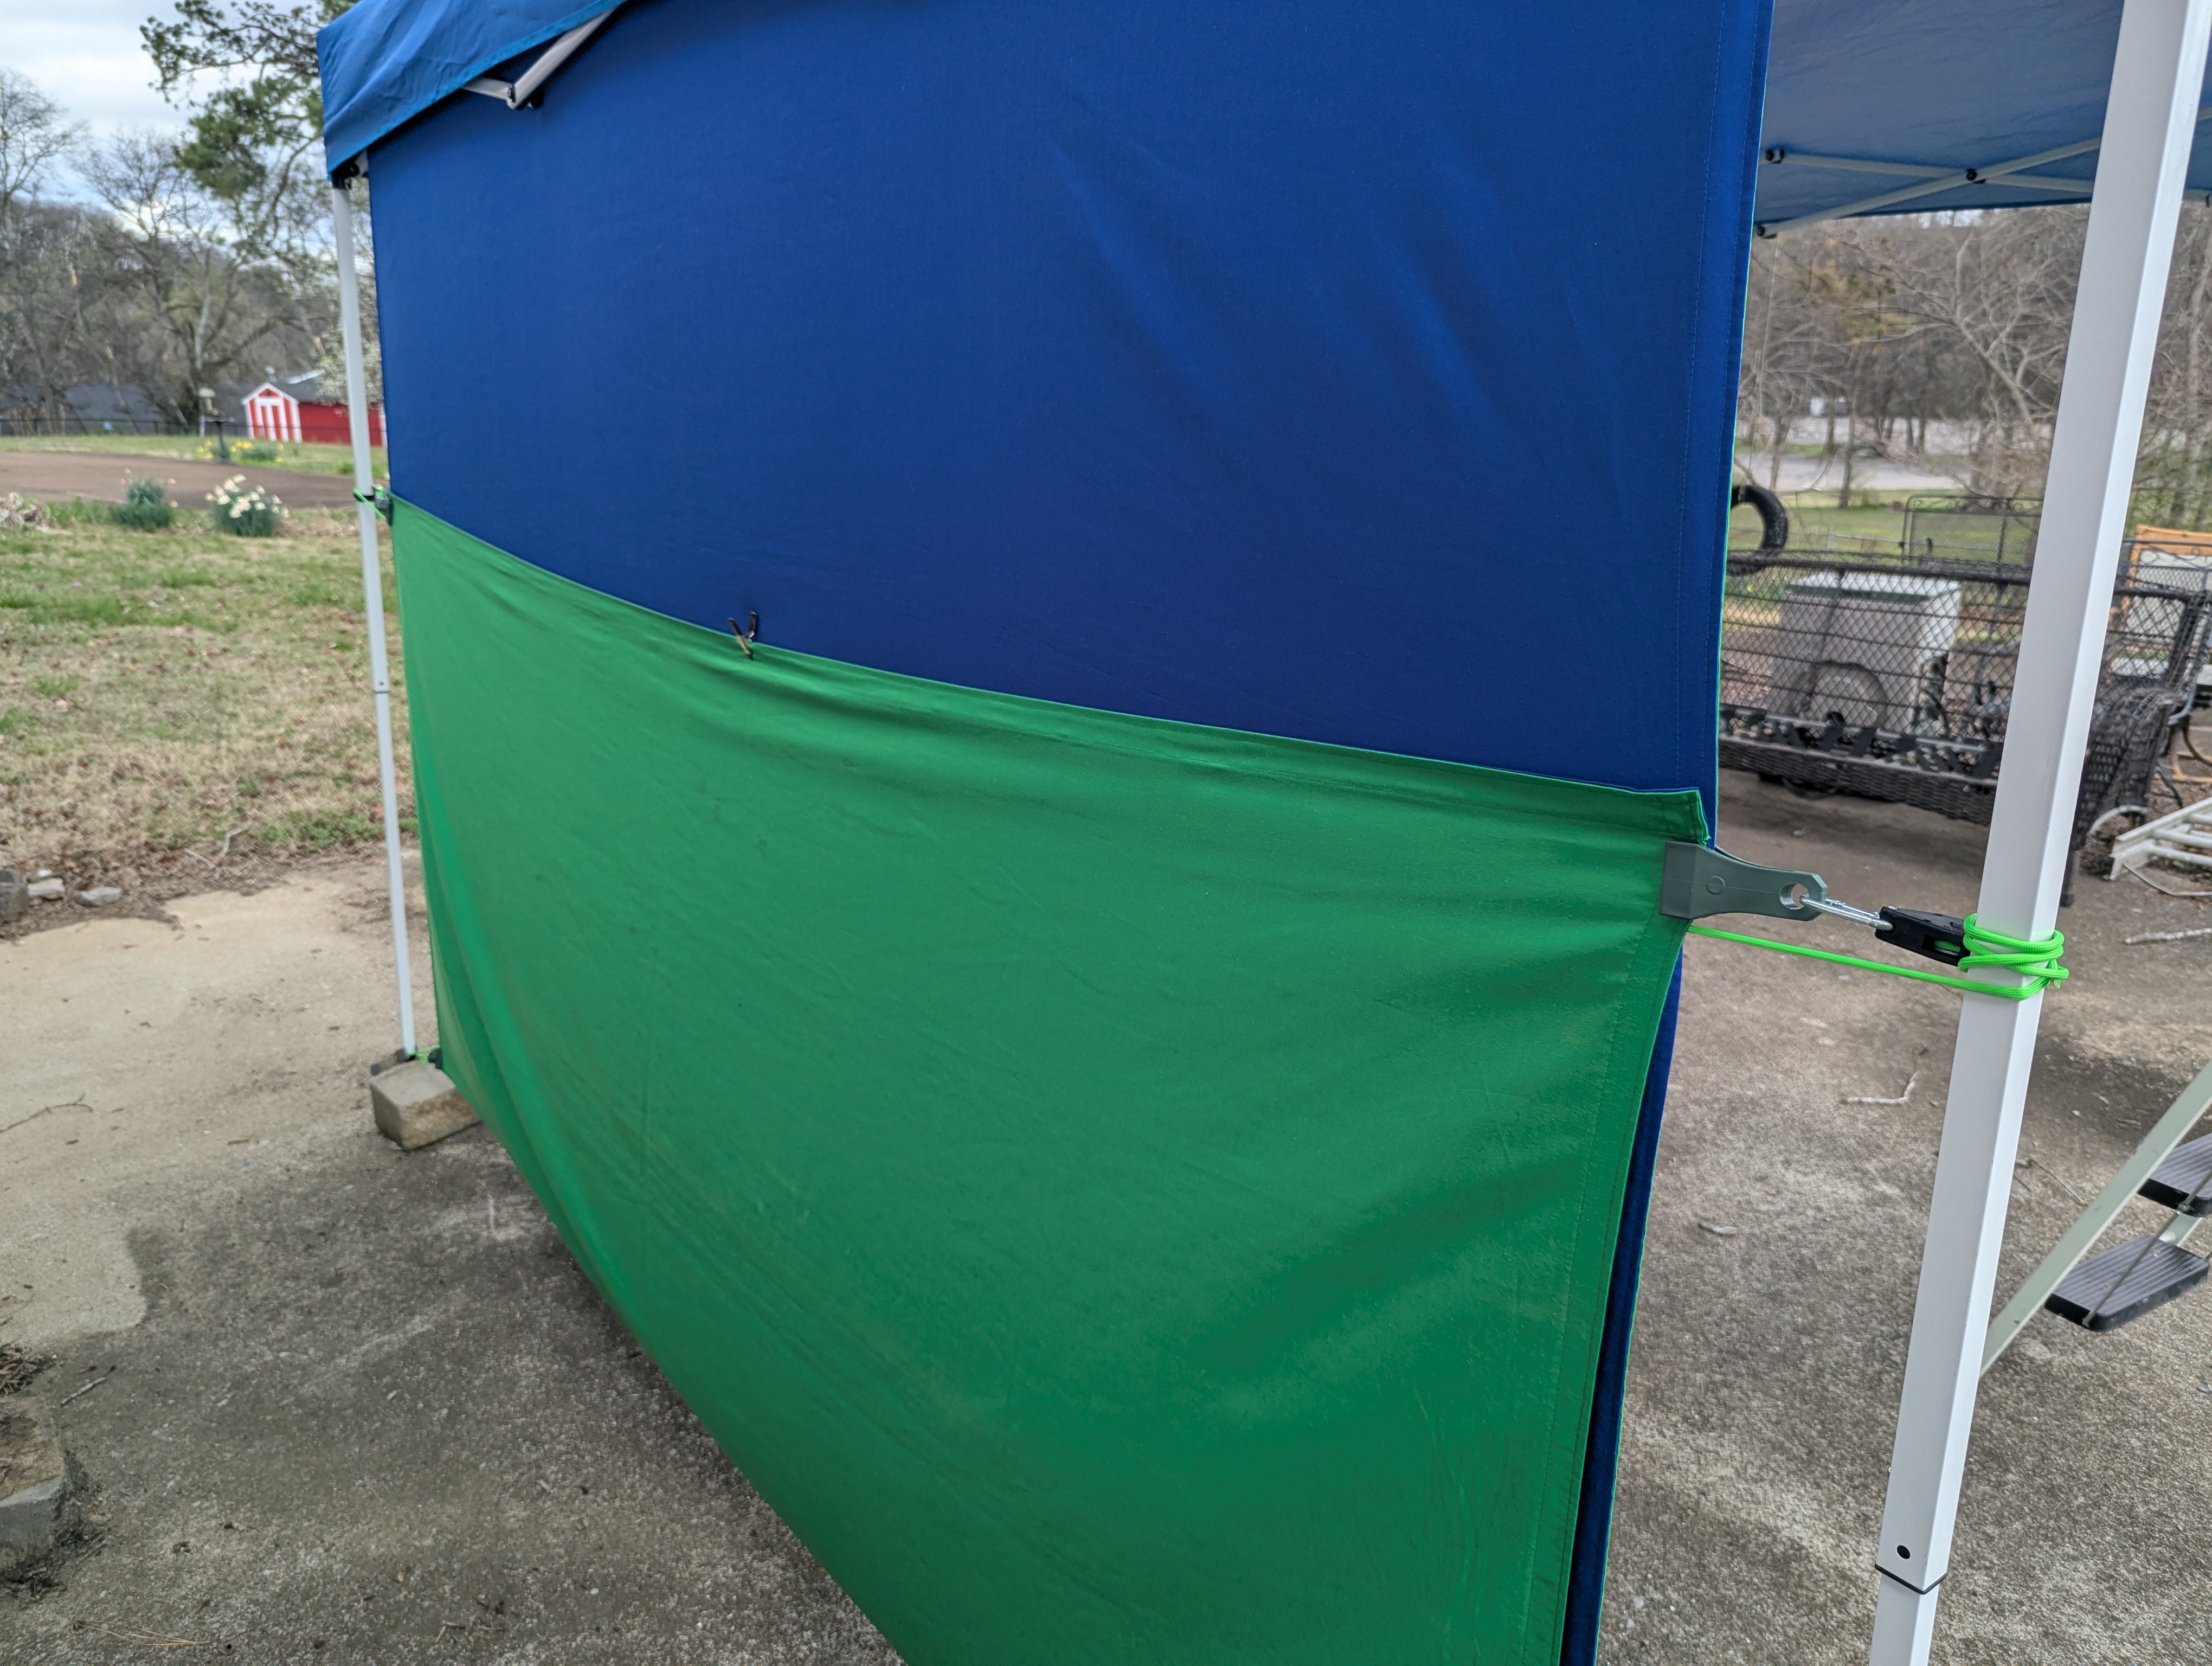
Final
Goal: Finalize tension, stability, and weather protection before shooting.
Once all three ropes are tight, make any adjustments and add/remove clamps or clips as needed to keep everything secure, tight, and as smooth as possible. You may need to use large A clamps to keep the bottom from sliding up the tent legs.
If the job involves QR scanning, use the scanner from the tent bag instead of scanners in the kit. These scanners work better in sunlight.
When setting camera position, make sure the table and all equipment are under the tent. Depending on tent size, you may need to stand outside while the table sits just inside. Also make sure anything under the table is protected from running water if rain is expected.
You are all done.
Troubleshooting
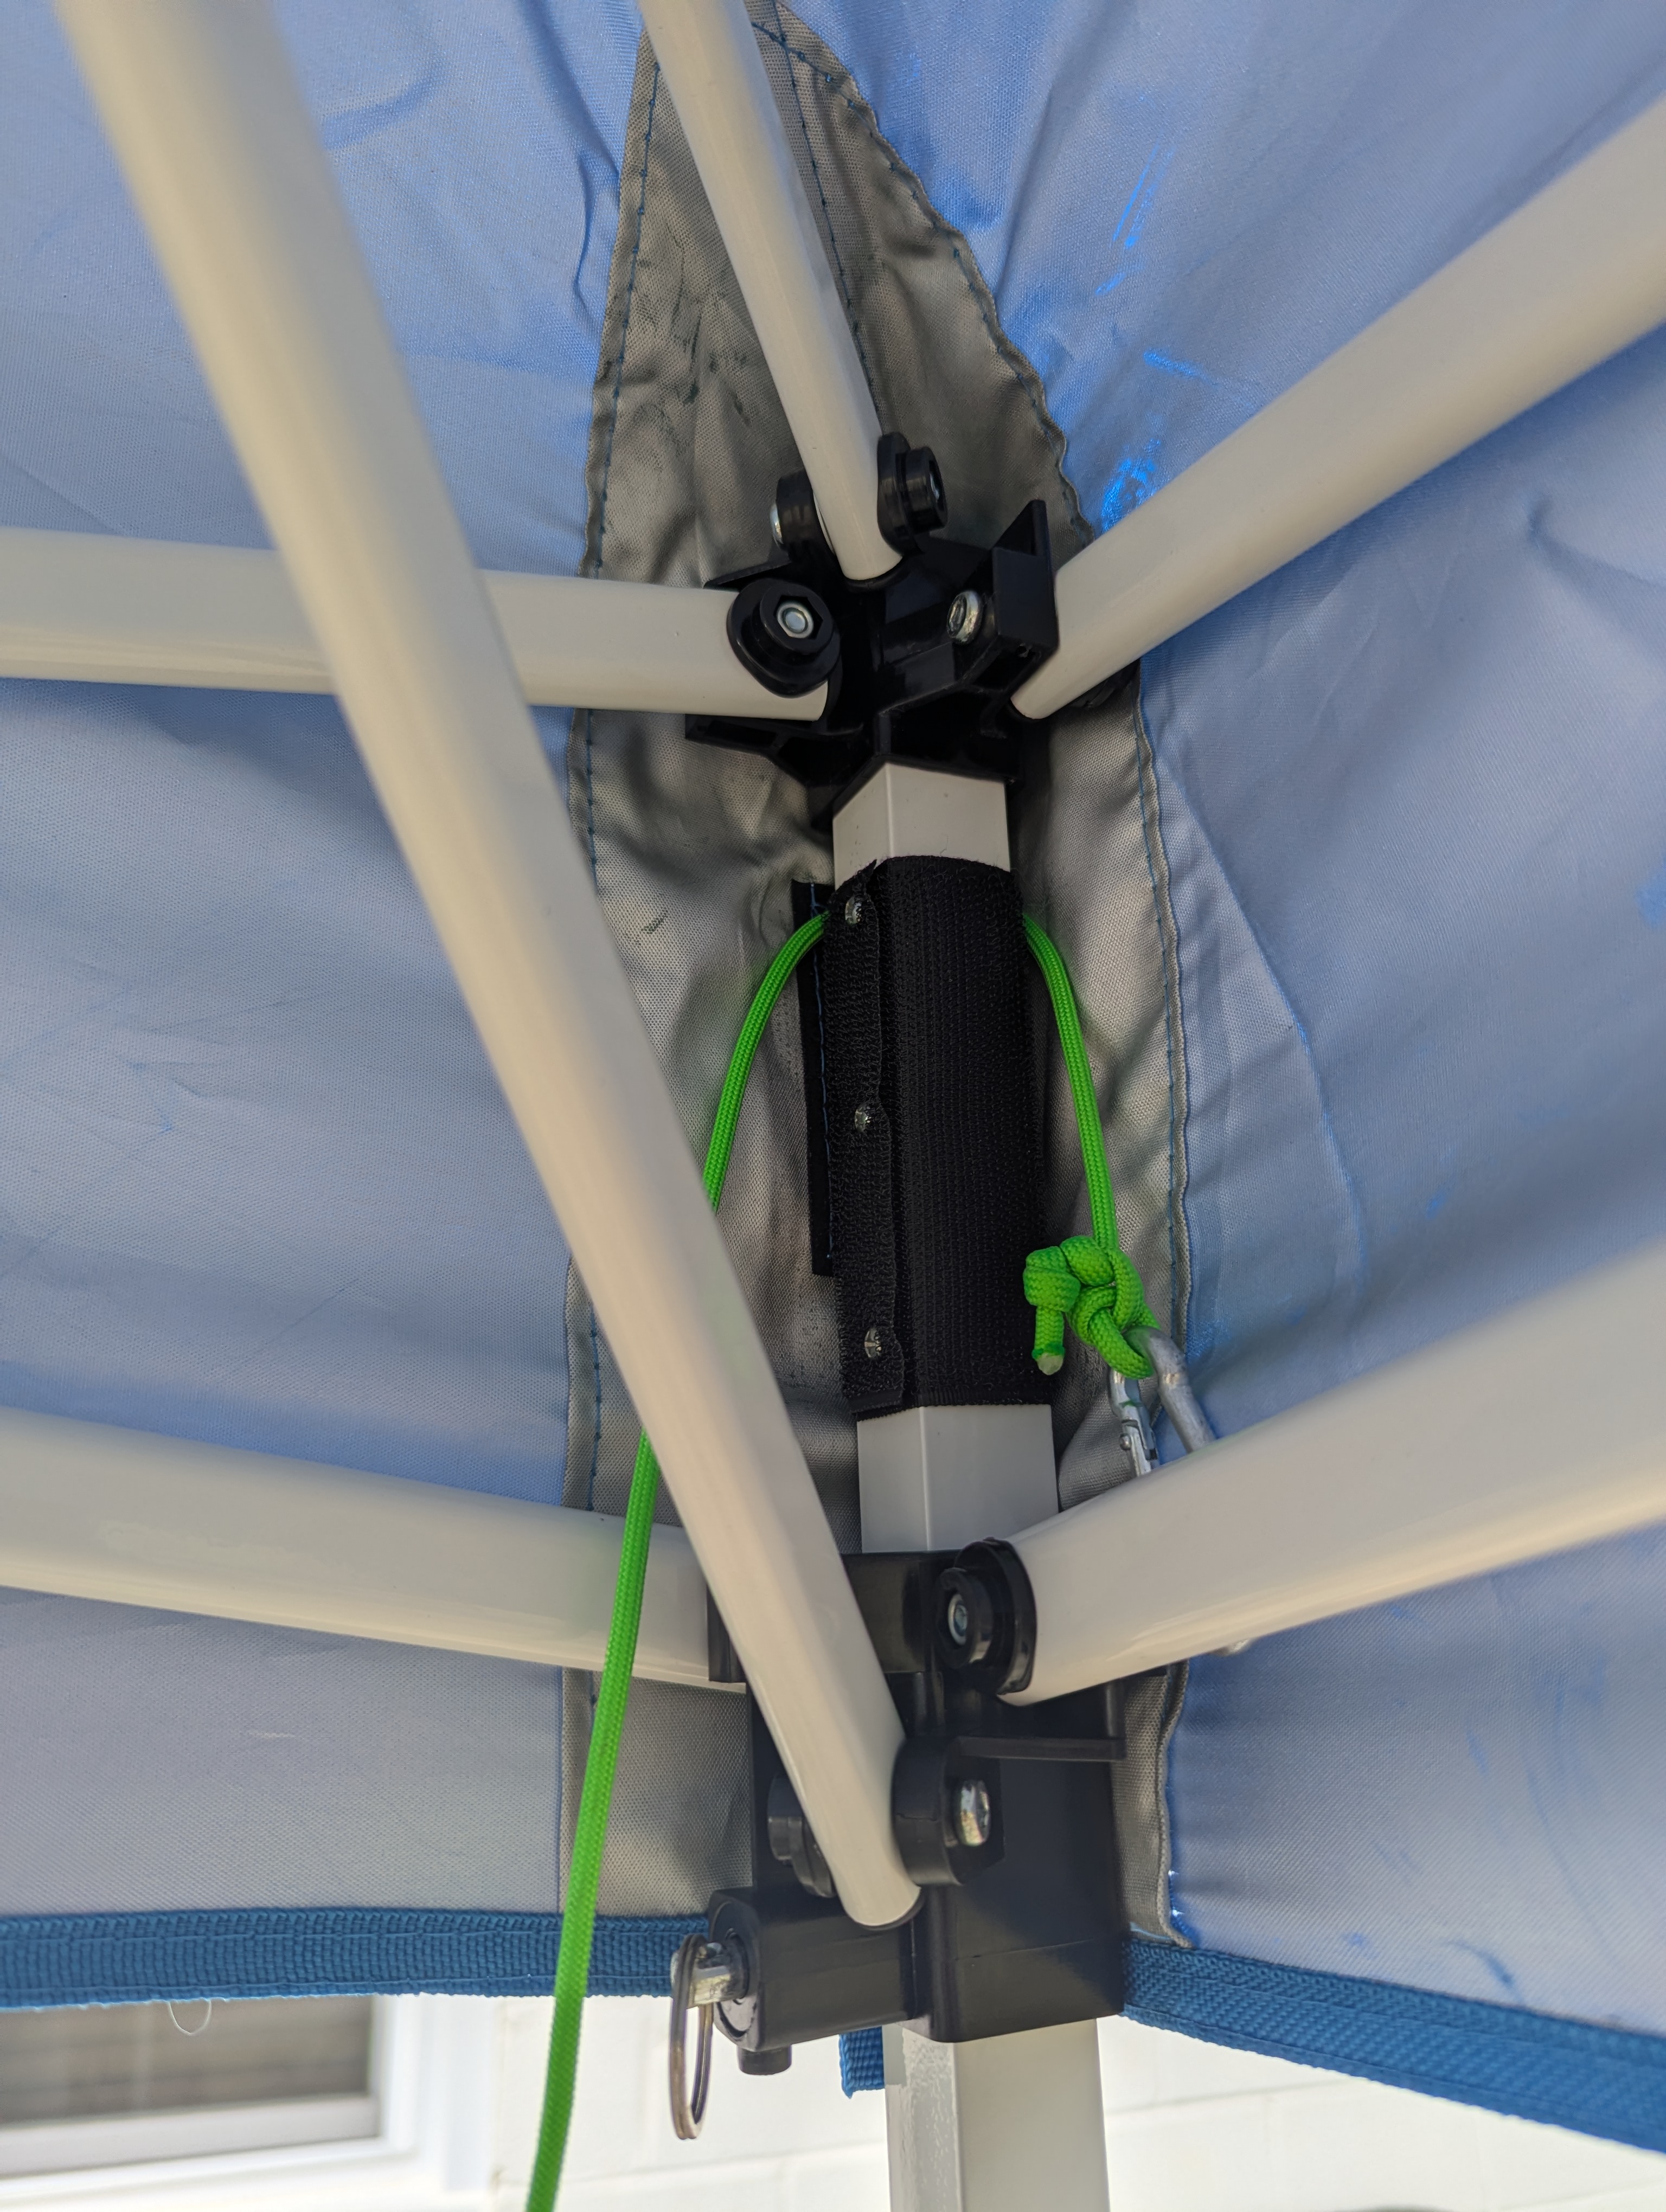
- If the tent has a lot of framework in the canopy, you may need to mount the light upside down or find other creative ways to hang it.
- If the tent leaks or water runs in problematic ways, use tarps as needed.
- The double-sided clamp can hold an umbrella in many positions to help block sun or rain when needed.
- Be extra mindful of any tent framework appearing in the photo. Either frame it out or use SolidKey to remove it.